Plucking a delicious homegrown tomato or pulling a crunchy carrot from my mom’s vegetable patch was a normal part of my childhood.
With a backyard of my own, I recognized all the benefits of homegrown veggies.
I soon started experimenting with different types of vegetable gardens, but still, something was missing. The climate up here allowed me to grow just a few veggie types.
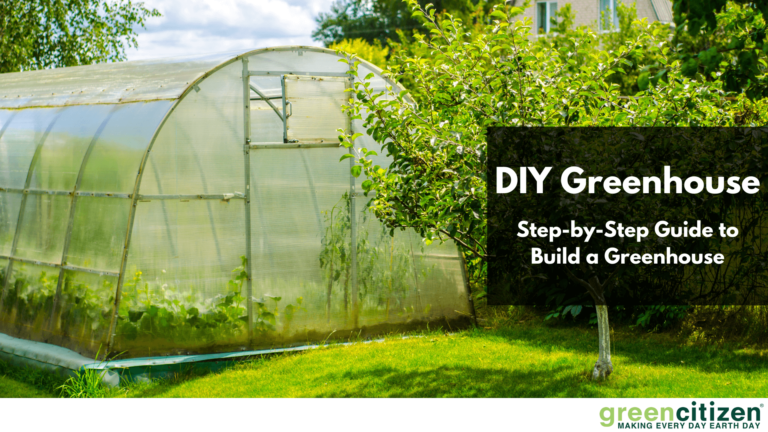
That’s when I decided to build a DIY greenhouse.
But why not buy one from a kit?
That’s the exact question I asked myself when I started.
Let me share everything I learned while making my own greenhouse and tell you why IMHO, a homemade greenhouse is a much better solution
Why Should You Go for a DIY Greenhouse?
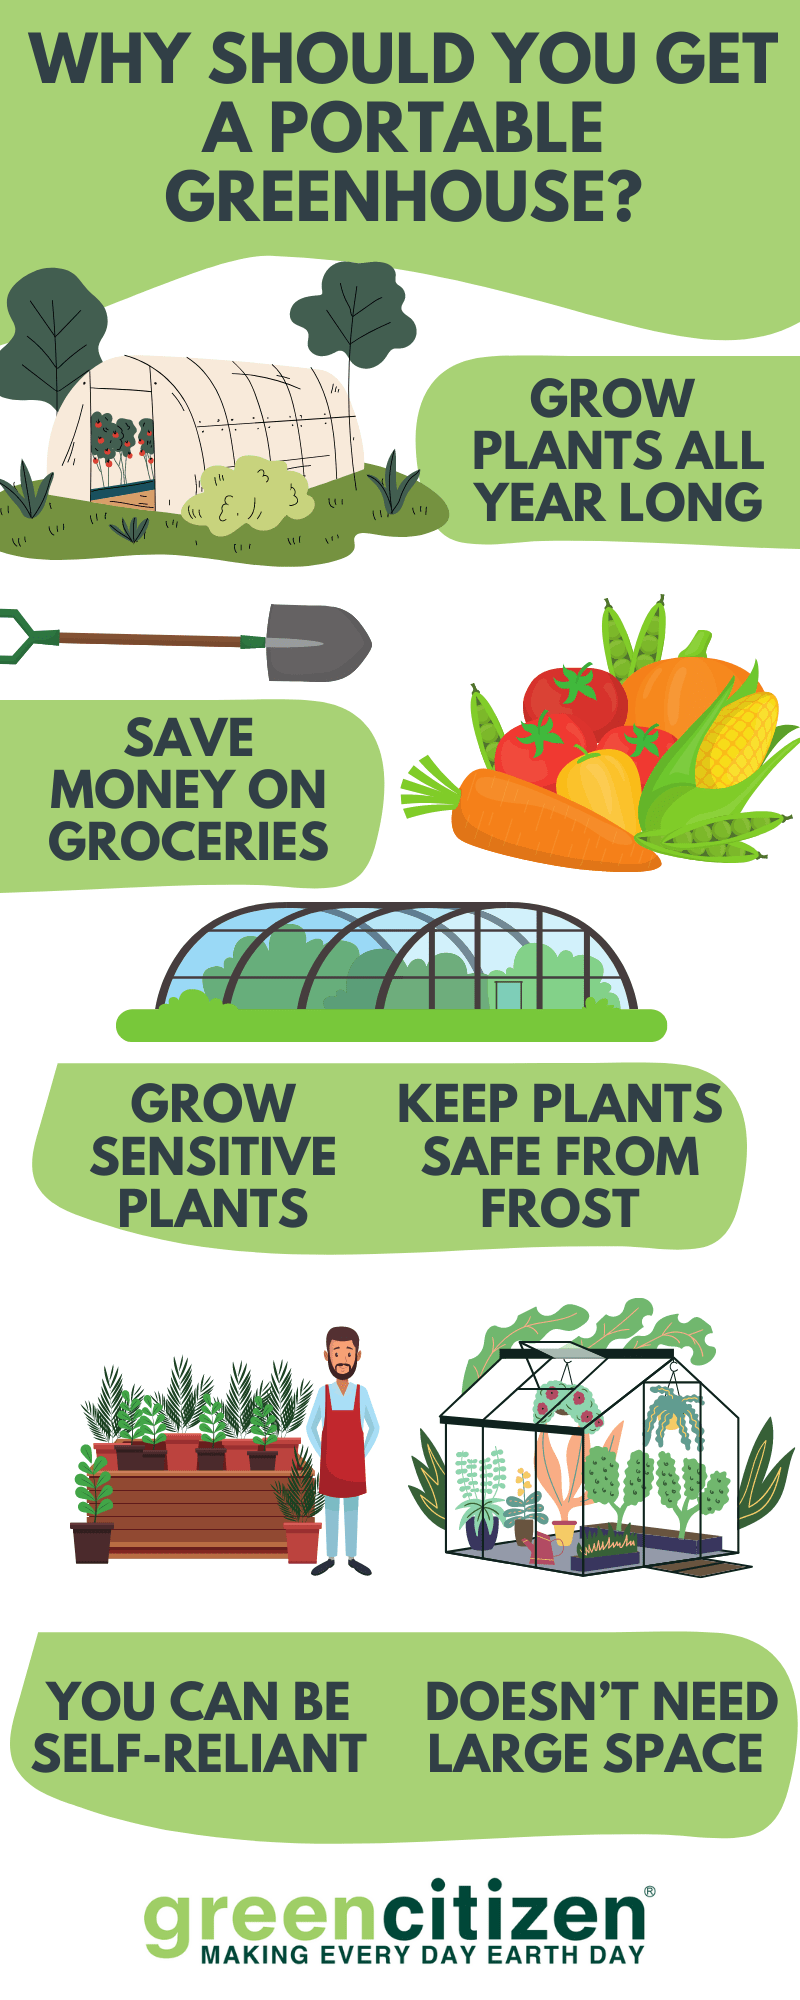
Why Bother Having a Greenhouse at All?
A greenhouse is a great addition to any suburban or even urban backyard. But is it worth all the fuss? What difference can a greenhouse actually make?
All-Season Growing
My greenhouse allows me to extend the growing season — I can start growing earlier in spring and finish later in the fall. Since I’ve built the greenhouse, the spinach and Brussels Sprout season never actually stops.
If you live in colder weather, you can also grow hot-weather vegetables like okras, cherry tomatoes, and Asian eggplants.
While I live in a temperate region, I’m no stranger to sudden frosts, cold waves, and storms that can wreak havoc on my garden. This is why I choose to build my greenhouse with durable materials that even withstand a fist-sized hail.
Pest Control
Then, there’s the problem of pests. With the greenhouse, my pest control efforts are a hundred times easier.
Before I had my greenhouse, I led several unsuccessful campaigns against Colorado potato beetles. Imagine my despair when after removing all potato beetles I could find, I discovered that another host has migrated into my patch.
Not in my greenhouse, you won’t!
The same goes with those pesky tomato caterpillars. The greenhouse now keeps them at bay.
And since I don’t use pesticides, just natural remedies, having a sunroof over the plants protects the solutions from being washed by the rain.
Environmental Factor
The homegrown food movement has already taken momentum in many parts of the world. The whole idea is to grow as much food locally and avoid transport emissions and chemicals used to keep the produce fresh during the overseas voyage.
This way, veggies don’t have to travel hundreds and thousands of miles from remote farms to our grocery bags.
I do most of my grocery shopping right in my greenhouse!
Comfort
Now, this doesn’t apply to small and portable greenhouses, but having one where you can enter and move about makes gardening much more pleasant. Even when it’s chilly or even raining outside, I can relax and tend to my plants and have quality “garden time.”
Why is DIY Better than Ready-Made?
Saves Money
Yes, you can find a person-sized greenhouse for as little as $25 but these are overseas made with flimsy plastic parts that most likely won’t last a single storm.
By going DIY, you can save a lot of money and yet end up with a sturdy structure that will protect your plants for many years.
Even the more exotic types, like the famous “geodome greenhouse” cost much less than if someone else builds one for you or you buy a ready-made one.
Is An Enjoyable Project
My DIY greenhouse project turned out to be very rewarding to build. I’ve learned a lot of new skills and had a chance to improve old ones. The part that I enjoyed the most was the earthworks — I just love digging and packing the dirt.
You Get to Choose the Materials
If you use natural or reclaimed materials, you reduce your impact on the planet even more. Whether you choose timber, aluminum, or even plastic — the environmental footprint of a DIY greenhouse is definitely smaller than that of a bought one.
4 Crucial Things to Consider Before Building Your DIY Greenhouse
What Does It Cost?
The cost of a greenhouse all boils down to whether you want to make a big investment or need a greenhouse that won’t make a hole in your bank account. Doing it yourself with materials from the hardware store is definitely the cheapest.
Building one yourself with a greenhouse kit comes second while having someone build it for you is the most expensive option.
If you hire a contractor, an average cost for a 14-by-10-feet greenhouse at $25 per square foot would cost $3,500. Of course, different contractors may offer higher or lower bids.
Now, this is the ceiling price.
Whatever you choose to do yourself is going to make it cheaper.
When I was building my greenhouse, the most expensive thing was the concrete foundation. I didn’t want to bother with it so I had ready-to-pour concrete brought over.
In hindsight, I believe I could’ve used pavers instead. It would be quicker and less messy, but more expensive.
As the superstructure is concerned, PVC or fiberglass hoops are the cheapest you can get. I found this deal for $43.
If you’re looking for an extra budget-friendly covering option, 12 x 25 ft of clear plastic greenhouse covering costs less than $60.
So to draw a line, your DIY greenhouse can cost you anything between $100 and $3,500.
Which Greenhouse Type to Choose?
As I did my research I could identify three main types of greenhouses. So the questions you should ask in the beginning are:
How much space do I have?
What do I want to grow inside?
This will tell you right out whether you need a:
Mini-Greenhouse
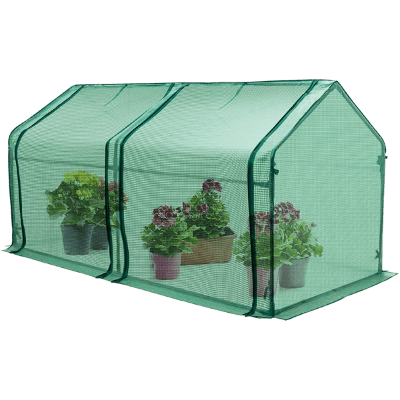
This is the smallest kind of homemade greenhouse you can build. They are easy to move around so you can place them almost anywhere in your backyard and even indoors.
If you have limited floor space, build a vertical greenhouse with shelves that support the planters.
If you need covering a patch or raised beds, a horizontal design would be better.
As their name says, these greenhouses are small so you can access the plants only from above, by removing a part of the cover.
Walk-In Greenhouse
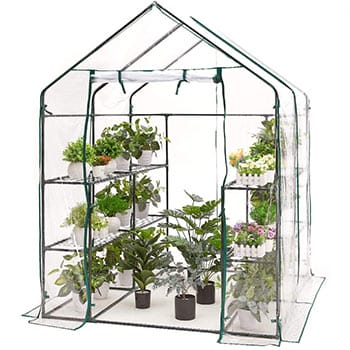
There are many benefits if you can actually enter your greenhouse and stand upright.
Not only can you squeeze in more shelves, but you can also store some of your gardening tools, planting mix, seeds, etc.
Keep in mind that a walk-in greenhouse can also be portable — instead of using the foundation, you’ll secure it using tent pegs.
This option might be especially interesting if your local building codes make building a permanent structure too complicated.
This way you simply erect the greenhouse wherever you like and take it down when you don’t need it anymore.
Large Greenhouse
Since we’re talking about a more serious superstructure, for these you might need a concrete foundation and gravel flooring.
This prevents your greenhouse from sinking into the solid or canting but also lets you have 100% pest control.
There’s no way creepy crawlies can bore up through the concrete.
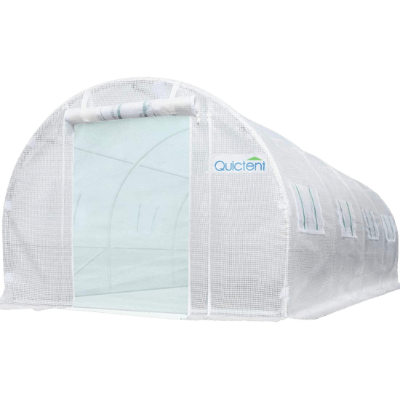
DIY Greenhouse Styles
Hoops and Plastic
This is the easiest style to make. Since the whole structure is lightweight, you don’t need the foundation. You can use PVC pipes that are easy to bend or even cattle panels — excellent for climbing plants like cucumbers, peas, and gourds! This type of greenhouse is great for covering existing garden beds.
Portable Window Frames
An excellent idea for upcycling old windows and salvaged cedar planks. In the end, you have portable planting beds with a glazed lid that opens up like a roof window. This DIY greenhouse style is enormously decorative and will definitely spruce up your garden.
Portable A-Frame Greenhouse
Another type of portable garden greenhouse you can make with salvaged materials, in this case, wooden pallet boards and greenhouse plastic. Set it over the existing beds or fill it with planters.
You can use less expensive plastic sheeting that interior decorators use to protect the floors, but a good quality UV-grade greenhouse plastic will last longer and won’t turn yellow over time.
Instead of the A-frame, you can also make a lean-to configuration that rests on the sunny side of your house or a shed.
Full-size Greenhouse
This is the type of greenhouse I went for. My logic was that the large greenhouse can do everything a small greenhouse can do, but not the other way round.
You can use timber or aluminum framings and polycarbonate panels. Since this type needs a foundation, it might fall under a utility building in your code, so make sure to clear that first before you start shopping for materials.
What Does the Law Say?
Before you do anything you need to find out whether you need a building permit for a greenhouse on your property.
This, of course, doesn’t apply to mini- and portable greenhouses, but the rule of thumb is the closer you get to the city center, the tougher the codes get.
For most rural areas, a greenhouse is treated like just another shed or auxiliary building, so you won’t need a permit.
On the other hand, urban locales will likely require a permit, which unfortunately adds to your building costs.
One way or another, this is not something you want to discover when you’re halfway into your project. Check with your town’s building department to make sure you dot all the i’s and cross all the t’s.
If you live in a community with a homeowner’s association (HOA), you’ll have to get their approval as well.
This part might turn tricky as many housing communities have strict no-outbuildings rules.
To sum up, knowing your local laws will help you decide what DIY greenhouse ideas you should take into consideration.
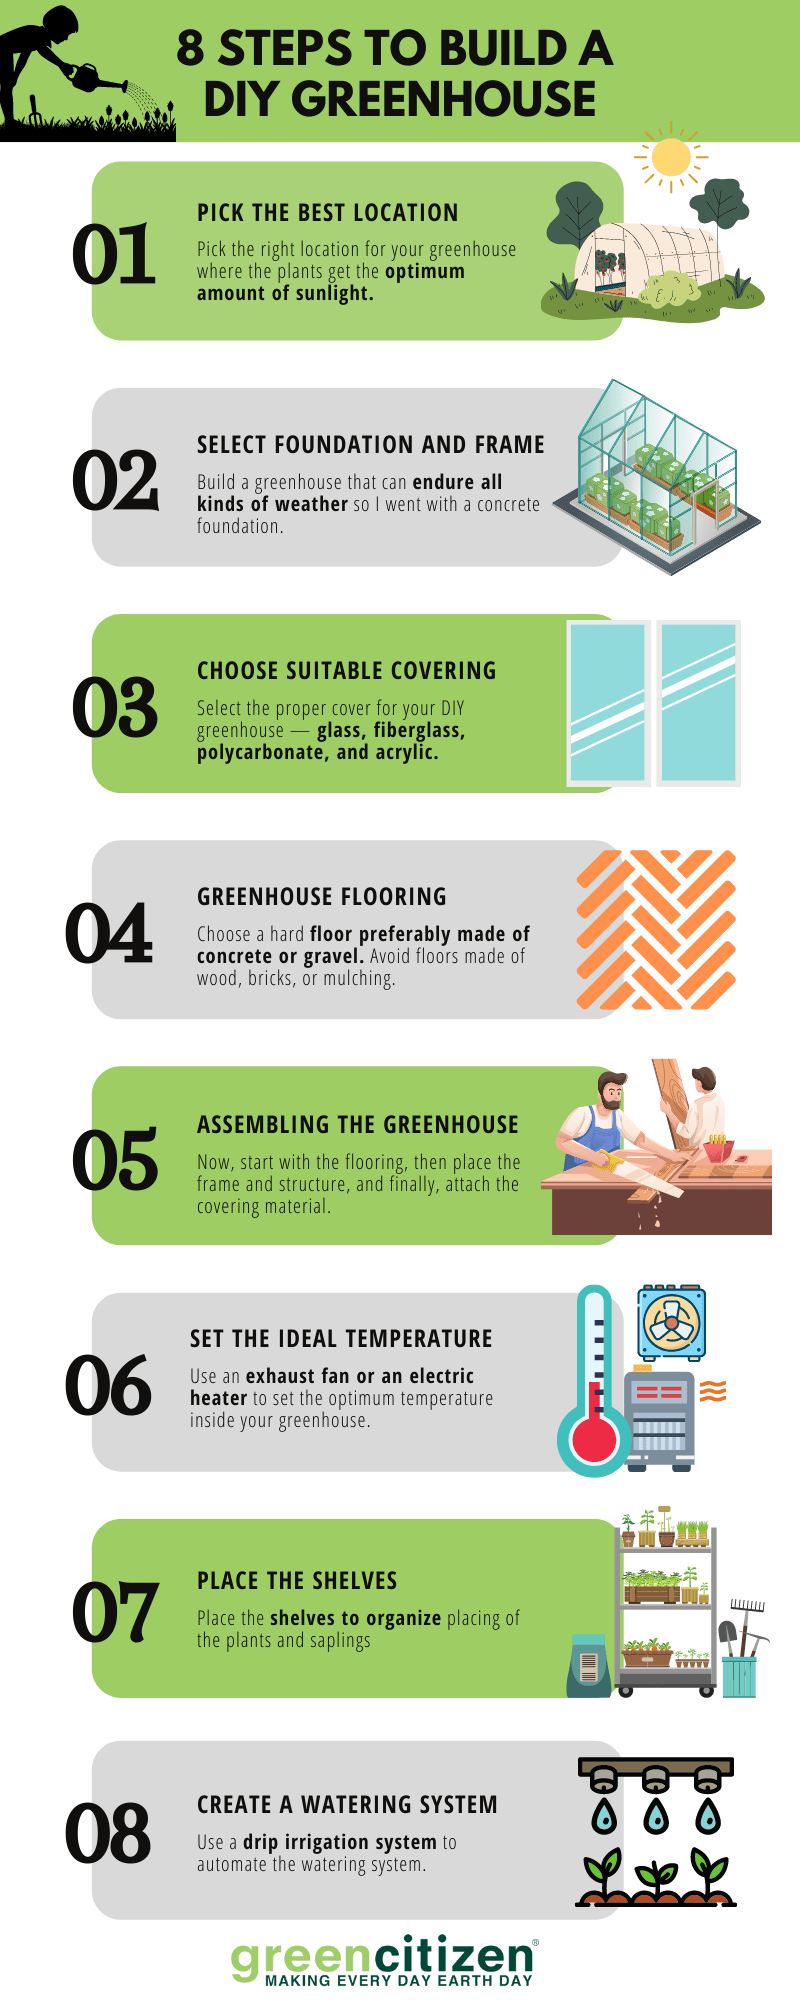
8 Steps to Build a DIY Greenhouse
Now I’ll show you how to build a greenhouse — a full-size DIY greenhouse with a concrete foundation, aluminum frames, and acrylic panels. I’ll also offer alternative paths wherever possible along the way.
Step 1: Pick the Best Location
This is the essential step because there’s little use for a greenhouse that doesn’t get enough sunlight.
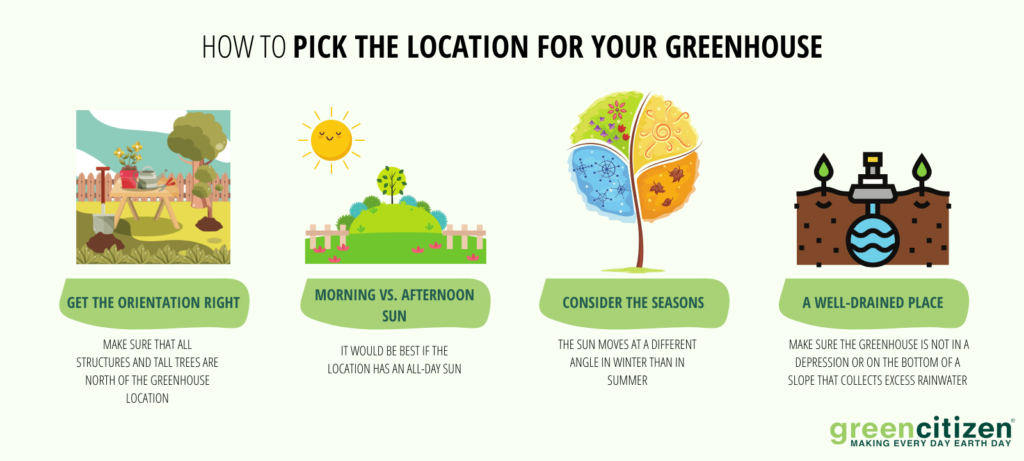
Get the Orientation Right
To get this one right make sure that all structures and tall trees are north of the greenhouse location. Sure, if you live in New Zealand, for example, it’s the other way round.
If your greenhouse is going to be a lean-to, you definitely want it on the south side of a building.
Morning vs. Afternoon Sun
Although it would be best if the location has an all-day sun, in reality, you should always choose morning sun over afternoon sun. Morning sunlight is the best for plant growth.
An ideal location for a greenhouse gets at least six hours of sunlight throughout the day.
Consider the Seasons
The sun moves at a different angle in winter than in summer. If you pick the location on the east, it’ll get more sun from November through February.
On the other hand, due to the low winter sun, houses, trees, and fences will pose a problem in the afternoon.
I don’t advise building a greenhouse near a tree, but if you have to, let it be a deciduous tree as they shed their leaves in winter, then the greenhouse plants need all the sun they can get.
A Well-Drained Place
If your backyard is uneven, make sure the greenhouse is not in a depression or on the bottom of a slope that collects excess rainwater. You may need to fill in the area to encourage drainage or make a dry creek bed.
Step 2: Select the Foundation and Frame
I wanted to build a greenhouse that can endure all kinds of weather so I went with a concrete foundation. If you want extra stability, you can use pavers instead of poured concrete.
I probably should’ve used pavers, as they have far better drainage than poured concrete.
If you don’t need a foundation, there are many materials you can use as flooring — gravel, wood decking, metal grates, or flagstone. Gravel is an excellent choice for a number of greenhouse plans — it’s inexpensive, drains, well, and you can always add more if needed. I don’t recommend leaving the bare dirt floor. Even if you have efficient drainage, it’ll still get soggy and muddy after the rain.
When it comes to frame materials, I could choose wood or aluminum. Wood is less expensive and easier to work with, but more suited to small or medium-size greenhouses.
Still, you need to treat it for pests and moisture, so I chose aluminum for its lightweight, strength, and resistance to corrosion. The aluminum frame lets you adapt your greenhouse to different styles and easily takes any color scheme you like.
As an environmental bonus, aluminum is a material that is now mostly made of recycled materials and can be recycled again.
I used L, T, and U-profiles and self-tapping screws for the aluminum.
Step 3: Choose the Suitable Covering
Since I already chose the aluminum frame, there was no going back to UV-stabilized polyethylene. That’s a good match for PVC pipe tunnel-style greenhouses. For our project we’ll use DIY greenhouse panels made of:
- Glass is an earth-friendly material that won’t turn yellow and lets the most sunlight inside. It’s also the most attractive material, so you may want to consider it if you want to make your greenhouse stand out. For glass covering you need a firmly-framed greenhouse with a foundation as any misalignment can cause it to break. Yes, glass is very fragile and expensive to replace when it breaks.
- Fiberglass is a less-expensive alternative to glass. However, unless you buy a high-grade product, you'll greatly reduce light transmission, as it will turn yellow and lose transparency in a few years. Generally, I can’t recommend a fiberglass covering except if you’re on a tight budget.
- Polycarbonate, on the other hand, has a high light transmission and it’s UV-resistant. On top of it, it’s 200 times stronger than glass and has 30% higher energy savings, because of its double wall. However, it contains water-soluble toxins such as BPA. This isn’t such a problem if you're building a greenhouse for the flowering plants and cacti.
- Acrylic or plexiglass is probably the best covering material for rigid frames. It isn't as tough as polycarbonate (tougher than glass, still), but it doesn’t contain BPA. It’s the most expensive non-glass option but provides light transmission of 90% which is by far the best of all the plastics.
Step 4: Flooring — Do I Need It?
As mentioned, you don’t want to leave the bare dirt as flooring. Even if your greenhouse is on a super-dry spot, spills or leaks can turn the dirt floor into a mess.
Concrete slab
If you’re going to do it like me and pour a concrete slab as a base, you’ll also have premium flooring in place.
Concrete is the most durable and easiest to clean and maintain. It will support all kinds of benches and shelves.
Keep in mind, though, that the upfront costs are a bit steep, but I still think concrete is a good investment long term.
Gravel floor
Even if you’re not going with poured concrete, I recommend making a wooden frame foundation and filling it with crushed stone or gravel. This option is inexpensive and easy to clean.
Still, to have gravel as flooring, you need to ensure proper drainage. Water can build up between the rocks and with a little dirt, you have a weed problem in your own greenhouse!
You can prevent this by laying a weed mat and laying rocks and gravel on top of it.
Materials NOT to Use for Flooring!
- Wood looks fantastic and rustic, but I don’t believe it is a good choice for flooring. Greenhouses are moist places and sooner or later you’re going to have mold and all sorts of pests. You could go with pressure-treated wood or naturally resistant wood like cedar, but it’s not worth it.
- Bricks also add humidity to the greenhouse and should be laid over a layer of sand for better stability and drainage.
- Mulch is cheap and looks good on the outside, but think twice before you lay it in your greenhouse. Mulch is impossible to clean and it decomposes rapidly, leaving behind bacteria and fungi.
Step 5: Let’s Put Everything Together
Whether you are using a concrete slab or not, it’s always best to remove a layer of grass and dirt for better stability and a more even floor.
Hire a contractor to pour concrete or make your own cement mix.
This is an essential step so you better be sure what you’re doing. They will bring concrete forms, but if you’re DIYing this stage, make your own using 2 x 4 boards.
Alternatively, when you’ve dug out your foundation, lay down some weed mat, drive the frame supports into the ground, and pour the gravel.
Mark the panels and the aluminum profiles for drilling. It’s always better if you can assemble the smaller components before building the frame so they’re ready for installation.
For this, you can use a wrench, a ratchet, or a drill set on a low-torque, low-speed.
While you’re framing the greenhouse, I recommend that you install the cover panels as you’re making progress with the aluminum profiles. This way you can easily trim the surplus material.
Let’s be honest — this stage is much easier if you’re assembling a ready-made greenhouse. But the beauty of going DIY is that you get to design, tailor, and put everything together yourself, learning from your mistakes and becoming a more skilled handyman.
Step 6: Set the Ideal Temperature
You need a way to regulate the temperature inside the greenhouse as it can become too hot in summer or too cold in winter.
- If it gets too hot — To deal with hot air you can leave a few side windows or rooftop vents, and even use exhaust fans. You need to place the fans in the corners of the greenhouse so they’re creating a diagonal flow. Another earth-friendly way of locking solar heat gain is to use shade cloths.
- If it gets too cold — You can keep your greenhouse warm by installing an electric heater with a thermostat and forced circulation. The climate-conscious way is to insulate the greenhouse with bubble wrap. Buy a few rolls and attach them to the inside of the glass.
Or, you can put a small dark barrel of water and place it in your greenhouse. It heats up during the day and then releases the heat at night, keeping the inside temperature a good few degrees higher.
The most important thing here is to decide if you want a cool greenhouse or a hothouse suitable for growing tropical plants. You can’t have both zones in a single greenhouse.
Step 7: Shelving Time
Now you need some growing equipment. I get that by now it’s clear that we’re building a floored greenhouse that has nothing to do with the soil underneath. Now, you need to decide what kind of planters you’re going to use.
- Raised beds — A good choice if you’re using a gravel floor as the surplus water will drain away easily. A benefit of raised beds is that their height allows you to tend to your plants comfortably.
- Potting benches — This is a great option if you’re growing your plants in pots. These benches save a lot of space while allowing you to inspect every plant from all sides. Finally, there’s always plenty of storage space underneath.
Just keep in mind that when you use shelving and want to have plants on the lower levels, you need to take shadows into account.
Step 8: Watering
The way you’re going to water your plants depends on the size of your greenhouse and the space you lift inside.
If you’re using raised beds, a drip irrigation system can make watering a lot easier while saving you literally a ton of water.
The only thing to do is to turn on the tap when you need it. If you use a timer, you can automate the watering completely.
No more bothering neighbors or friends to come over and water your babies while you’re on a vacation.
Final Thoughts
After completing my DIY greenhouse I can honestly say that the whole project from looking at different greenhouse plans to putting the whole thing together was nothing but joy and pleasure, and learning.
I invited some friends over and we made it into a small barn-raising event, or in this case, a greenhouse-raising event. LOL
So what are the benefits of building a DIY greenhouse?
I saved a lot of money upfront and now I’m growing my own tasty and healthy veggies while becoming less dependent on supermarket foods.
