Starting a Hydroponic Indoor Garden has been one of the best decisions I’ve made. It offers numerous benefits like faster plant growth, less water usage, and the ability to grow fresh produce all year round.
Plus, there’s no need for soil, making it perfect for urban dwellers or those with limited space. Hydroponic systems can grow a variety of plants, including fruits like berries and tomatoes.
I took on this project myself and am excited to share my first-hand experience.
From choosing the right system to setting it up, I’ll guide you through the entire process. Expect tips, tricks, and a few lessons learned along the way. Whether you’re a beginner or looking to refine your setup, this guide will help you get your Hydroponic Indoor Garden up and running smoothly.
Trust me, if I can do it, you can too.
Let’s get into the world of hydroponics and grow some greens!
Key Takeaways
- Hydroponic gardens use a nutrient-rich water solution to grow plants without soil.
- Choose the right hydroponic system based on your space, budget, and expertise.
- Gather materials like grow lights, nutrient solutions, and pH testing kits for setup.
- Regularly monitor and adjust pH and nutrient levels to ensure plant health.
- Troubleshoot common issues like algae growth and nutrient deficiencies to keep your garden thriving.
Step 1: Hydroponics 101

A hydroponics system is a method of growing plants without soil. Instead, plants are grown in a nutrient-rich water solution that provides everything they need to thrive. There are several types of hydroponic systems, such as nutrient film technique (NFT), deep water culture (DWC), and drip systems. Each system has its unique setup and benefits. More on that later.
When I first heard about hydroponics, I was intrigued but also a bit skeptical.
Could plants really grow without soil?
As it turns out, hydroponics offers several advantages over traditional gardening, especially for indoor setups. For one, hydroponic systems use up to 90% less water than soil-based gardening.
This is a huge plus for anyone concerned about water conservation.
Moreover, hydroponic systems allow for faster plant growth and higher yields. Since the plants receive a perfect balance of nutrients directly to their roots, they can focus on growing rather than searching for food. Additionally, you can control the growing environment, which means fewer pests and diseases. Hydroponic systems also allow you to harvest fresh produce as needed, reducing food waste.
In my experience, setting up an indoor hydroponic garden was much easier than dealing with soil. No more messy dirt, fewer weeds, and a cleaner environment overall. Plus, it’s fascinating to see the roots growing in the nutrient solution, almost like a science experiment in my living room.
If you’re ready to take the plunge into hydroponics, you’re in for a rewarding journey.
Step 2: Choose Your Hydroponics System
Choosing the right hydroponic system is crucial for your indoor garden’s success. Let’s explore the main types, so you can decide which one suits your space, budget, and expertise best.
The key is to find a system that matches your needs and allows you to enjoy the process of indoor gardening.
1. Deep Water Culture (DWC)
This system involves plants growing in net pots suspended over a nutrient solution. An air pump keeps the solution oxygenated, ensuring the roots get plenty of oxygen. DWC is perfect for beginners due to its simplicity and low cost.
I started with a DWC system and found it incredibly easy to set up and maintain.
2. Nutrient Film Technique (NFT)
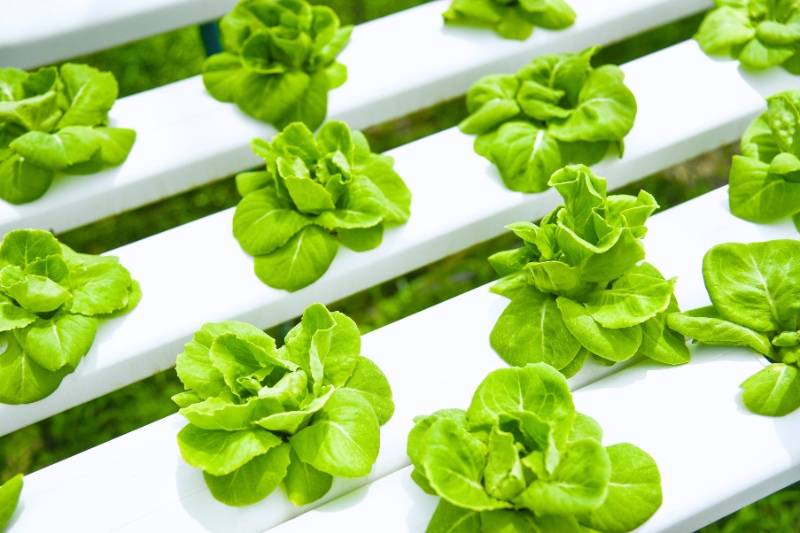
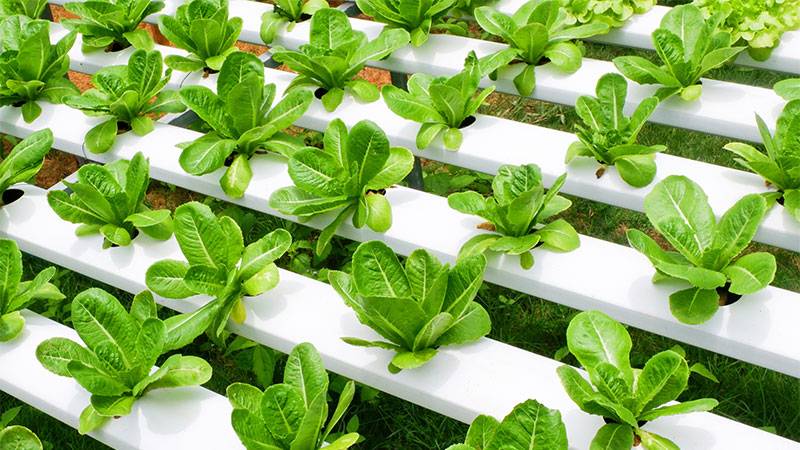
In this system, a thin film of nutrient solution flows over the roots, which are suspended in a sloped channel. The continuous flow of nutrients ensures the plants are well-fed. NFT systems are great for leafy greens and herbs but require a bit more precision in setup.
3. Wick System
This passive system uses a wick to draw the nutrient solution into the growing medium by capillary action. It’s simple and doesn’t require pumps or electricity, making it an excellent choice for small spaces.
However, it’s less efficient for larger plants that need more nutrients.
4. Ebb and Flow (Flood and Drain)
The growing tray is periodically flooded with nutrient solution and then drained back into the reservoir. This system is versatile and works well for various plants. Additionally, the Ebb and Flow system can support more plants and produce higher yields compared to traditional gardening methods.
I enjoyed experimenting with Ebb and Flow because it allowed me to grow a diverse range of veggies and herbs.
5. Drip System
Nutrient solution is dripped directly onto the base of each plant using a network of tubes. It provides precise control over nutrient delivery, making it ideal for larger plants and commercial setups.
Although setting up a drip system can be more complex, it’s incredibly efficient once running.
6. Aeroponics
In this high-tech system, roots are misted with nutrient solution in an enclosed environment. Aeroponics allows for maximum oxygen exposure and rapid growth. While it offers superior efficiency, it’s also the most challenging and expensive system to set up.
For my first hydroponics indoor garden, I went with the DWC system.
As I gained confidence and experience, I experimented with more advanced systems. Each system has its pros and cons, so think about your goals and resources.
Remember, starting with a simpler system like DWC or Wick can help you learn the basics without feeling overwhelmed. As you grow more confident, you can explore more complex systems like Aeroponics or NFT.
The key is to find a system that matches your needs and allows you to enjoy the process of indoor gardening.
Step 3: Gather Your Materials

Setting up a hydroponic indoor garden requires some essential materials.
Here’s a comprehensive list to get you started:
Growing Medium
The growing medium supports your plants’ roots and helps retain moisture. Popular choices include perlite, vermiculite, coconut coir, and rock wool.
I started with coconut coir because it’s eco-friendly and easy to handle.
Containers
You’ll need containers to hold your plants and growing medium. Net pots, plastic buckets, or trays work well. I found that net pots are particularly handy for maintaining proper root aeration.
Nutrient Solution
A balanced hydroponic nutrient mix, often referred to as plant food, is crucial for plant growth. These solutions contain all the essential minerals and nutrients your plants need.
Look for mixes specifically designed for hydroponics to ensure optimal results.
Water Pump
A water pump is necessary to circulate the nutrient solution. In my first setup, I used a simple submersible pump, which worked perfectly to keep the nutrient solution flowing.
Air Pump and Air Stones
To oxygenate the nutrient solution, you’ll need an air pump and air stones. These create bubbles in the solution, ensuring your plants’ roots get enough oxygen. I remember being fascinated by the tiny bubbles and how they helped my plants thrive.
Lighting
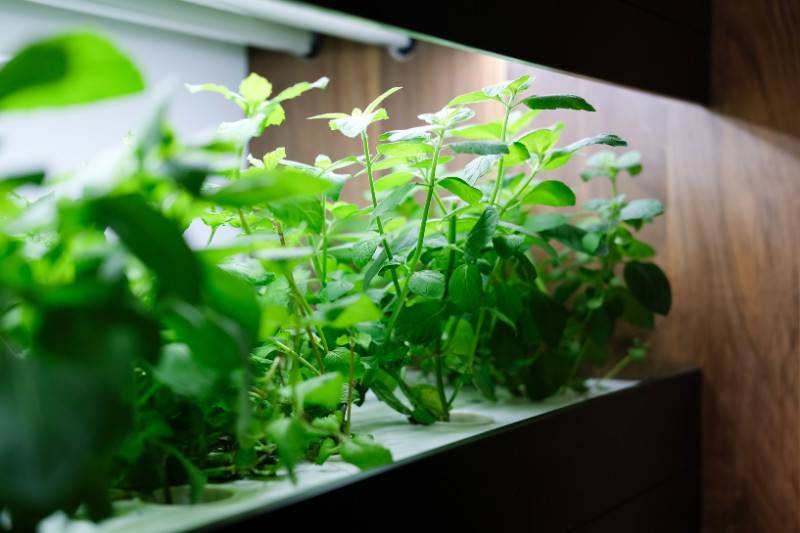
Since your hydroponic garden is indoors, you’ll need artificial lighting. LED grow lights or fluorescent tubes are great options. LED lights are energy-efficient and provide the full spectrum of light that plants need.
I opted for LED grow lights, and they’ve been fantastic for my plants.
pH Testing Kit
Monitoring and adjusting the pH of your nutrient solution is vital. Plants prefer a slightly acidic environment, usually between 5.5 and 6.5.
A pH testing kit helps you keep the solution in the optimal range. I found that regular pH checks prevented nutrient lockout issues.
Timer
Automating the lighting and nutrient delivery schedule is a game-changer. A timer ensures your plants receive consistent light and nutrients without you having to remember.
This was a lifesaver for me, especially during busy weeks.
When I first gathered these materials, I felt a mix of excitement and overwhelm. But breaking down the process into manageable steps made it easier. Starting with basic equipment and gradually upgrading allowed me to learn and adjust without feeling overwhelmed.
Now, I have a cheat code for the beginners out there!
If all of these materials and their intricacies confuse you, you can always go for assembled hydroponic Systems for indoor gardening. These systems can have all of the components built into them.
Meaning, you’ll be ready to start your gardening from the get-go without any delay.

Read More:
Step 4: Assemble Your System
Assembling your hydroponic system might seem daunting, but it’s quite manageable with a step-by-step approach. Here’s how to get everything set up:
Prepare the Containers:
Start by preparing your containers. Drill holes in the lids to hold the net pots. Ensure they fit snugly to prevent any movement. When I first did this, I felt like a DIY pro, drilling away in my kitchen! Make sure the holes are the right size for your net pots to sit securely without falling through.
Set Up the Reservoir:
Next, set up your reservoir. Fill it with water and add your hydroponic nutrient solution. The water pump is essential here. It circulates the nutrient-rich water, ensuring all plants get their share. Also, add the air pump and air stones to oxygenate the solution. This step is like setting up a mini-aquarium, except you’re feeding plants instead of fish.
Install the Grow Lights:
Position your grow lights above the growing area. The lights should be adjustable in height to accommodate plant growth. Use a timer to automate the light cycles, mimicking natural daylight. This part felt like setting up stage lights for a performance, and watching the plants bask under the glow is quite rewarding.
Monitor and Maintain:
Finally, regular monitoring and maintenance are crucial. Check the pH levels of your nutrient solution frequently and adjust as necessary. The ideal pH for most hydroponic plants is between 5.5 and 6.5. Also, monitor the nutrient levels to ensure your plants are getting the right balance. Keeping an eye on plant health and growth will help you spot any issues early.
Also, I can’t stress this enough—you are bound to make mistakes.
When I first assembled my system, I made a few mistakes, like not securing the net pots properly and having water spill everywhere. But these minor setbacks were part of the learning curve. Now, assembling a hydroponic system feels second nature to me.
One tip I found useful was to label everything. Mark the nutrient solution levels and pH readings on your calendar or in a notebook. This helps in tracking changes and maintaining consistency. Also, don’t forget to clean your system regularly to prevent algae buildup and other potential problems.
Remember, assembling your hydroponic system is a hands-on process. Take it step by step, and don’t rush.
Step 5: Plant and Grow
Now that your hydroponic system is assembled, it’s time to plant and grow. This step involves germinating seeds, transplanting seedlings, and following a nutrient schedule to ensure your plants thrive.
Begin by germinating your seeds. Use a germination tray filled with a suitable growing medium like coconut coir or rock wool. Place your seeds in the medium and keep it moist, but not waterlogged. Within a few days to a week, you should see sprouts emerging. Watching those tiny green shoots break through is always a thrill and a promise of the lush growth to come.
Once your seedlings have developed a few sets of leaves, it’s time to transplant them into your hydroponic system. Carefully remove each seedling from the germination tray, being gentle with the roots. Place the seedlings into the net pots filled with your chosen growing medium. Position the net pots in the holes you drilled earlier in the container lids. Seeing my seedlings move to their new home felt like a proud parent moment.
Next, establish a nutrient schedule.
Plants need a balanced diet to grow strong and healthy. Hydroponic systems can support a variety of plants, including other plants like microgreens and flowers. Use a hydroponic nutrient solution tailored to the types of plants you’re growing.
Follow the manufacturer’s instructions for mixing and dosing. Typically, you’ll need to change the nutrient solution every two weeks to keep it fresh and effective. Keeping track of the nutrient schedule is like planning meals for your plants; consistency is key.
Monitoring the growth of your plants is essential. Regularly check the pH and nutrient levels, adjusting as necessary to maintain the optimal environment. Plants in a hydroponic system can grow faster and healthier compared to traditional soil gardening, but they require attentive care.
I found it helpful to set reminders on my phone for nutrient changes and pH checks to stay on top of things.
As your plants grow, you may need to adjust the height of your grow lights to ensure they receive adequate light without getting too close and risking burn. This process reminded me of adjusting the sails on a boat; it requires careful attention but keeps everything on course.
In my experience, the initial weeks of planting and growing are the most exciting. Watching the rapid growth and lush development of your plants is incredibly rewarding. There’s a unique satisfaction in knowing that your hands-on effort and care are directly contributing to the thriving greenery before you.

Troubleshoot Common Issues for Your Hydroponic Garden
Even with the best setup, your hydroponic indoor garden may face some common issues. Knowing how to troubleshoot these problems will keep your garden healthy and productive.
Algae growth can be a pesky problem.
Algae thrive in light and nutrient-rich environments. To prevent this, cover your reservoir to block out light. This simple step can significantly reduce algae growth. In my early days of hydroponics, I learned this the hard way.
A quick trip to the hardware store for some opaque covers solved the issue.
Nutrient deficiencies can also affect your plants. If you notice yellowing leaves, stunted growth, or other unusual symptoms, your plants might not be getting the nutrients they need. Regularly monitor your plants’ health and adjust the nutrient mix accordingly. Each plant species has specific nutrient requirements, so a bit of research goes a long way.
I keep a logbook to track any changes and adjustments made, which helps identify patterns and prevent future issues.
A pH imbalance can hinder nutrient uptake, causing various growth problems. Regularly testing and adjusting the pH of your nutrient solution is crucial. The optimal pH range for most hydroponic plants is between 5.5 and 6.5. I use a digital pH meter for accuracy and ease. A few drops of pH adjuster can quickly bring your solution back to the desired range.
Encountering these issues might feel discouraging at first, but each challenge is an opportunity to learn and improve.
Don’t be afraid!
Conclusion
Setting up a home hydroponics system can be a rewarding and productive hobby. By following the steps that I mentioned and maintaining your system, you’ll enjoy fresh, home-grown produce all year long.
Isn’t that fascinating?
The journey from germinating seeds to harvesting your crops is filled with learning and satisfaction. Remember to stay observant and adjust as needed to keep your garden thriving. The effort you invest will pay off in the form of lush, healthy plants and a sustainable way to grow your own food.
Happy growing, and may your hydroponic indoor garden flourish!
