A few years ago, I stumbled upon no-dig gardening quite by accident. Faced with a stubborn patch of land and a sore back, the traditional method of turning soil felt more like a chore than a joy.
This led me to no-dig gardening, a method that promised less work and more rewards. Simply put, no-dig gardening involves building garden beds from the top down, layering organic material to create fertile soil without disturbing the ground beneath.
The benefits? Healthier plants, fewer weeds, and a happier me.
In this article, I’ll dive into how no-dig gardening works, how to start your own garden, maintain it, troubleshoot common problems, and revel in its benefits. Join me in discovering a gentler, yet abundantly productive approach to gardening.
What is No-Dig Gardening?
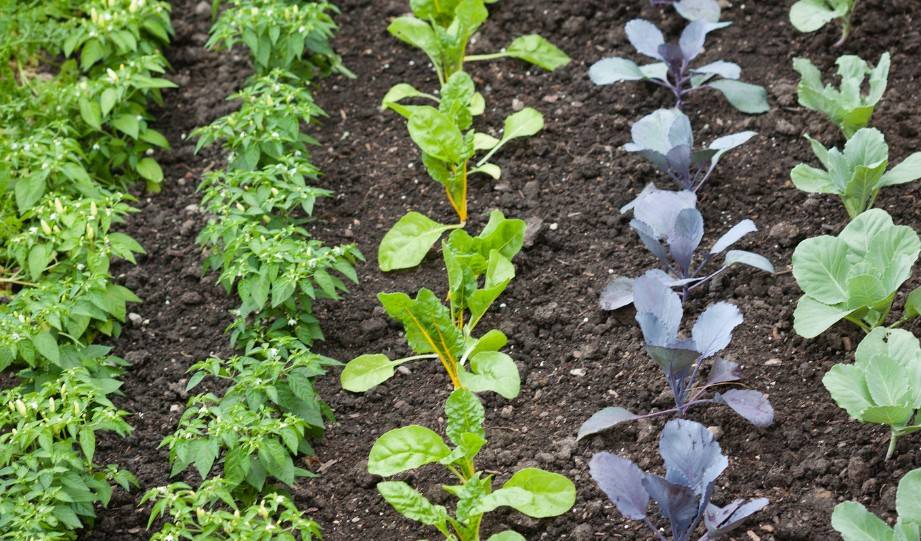
No-dig gardening is an innovative approach to horticulture that emphasizes soil health and ecological balance by avoiding the traditional practice of turning the soil.
This method was popularized by British horticulturist Charles Dowding, who began experimenting with no-dig techniques in the early 1980s. Dowding’s extensive research and practice demonstrated that by not disturbing the soil, gardeners could improve soil structure, enhance microbial life, and boost plant health, all while reducing labor and the need for chemical inputs.
The foundation of no-dig gardening lies in the simple act of layering organic matter, such as compost, on top of the soil surface. This creates a fertile environment for plants to grow without the need to till or dig the ground, thereby preserving the intricate web of life within the soil.
Earthworms and microorganisms thrive in undisturbed soil, working to naturally aerate the soil and break down organic material into nutrients readily available for plant uptake.
The principles behind no-dig gardening are deeply rooted in understanding and working with natural systems rather than against them. It is based on the notion that soil, when left undisturbed, maintains a healthy structure that supports plant growth better than soil that is regularly tilled.
This approach not only fosters a rich, living soil full of beneficial organisms but also significantly reduces weed growth and water loss, leading to resilient and productive gardens.
No-dig gardening has gained a following among organic gardeners and those interested in sustainable agriculture practices worldwide. Its success lies in its simplicity, effectiveness, and alignment with ecological principles, making it an appealing choice for gardeners aiming to nurture their slice of the earth responsibly.
How Does No-Dig Gardening Work?
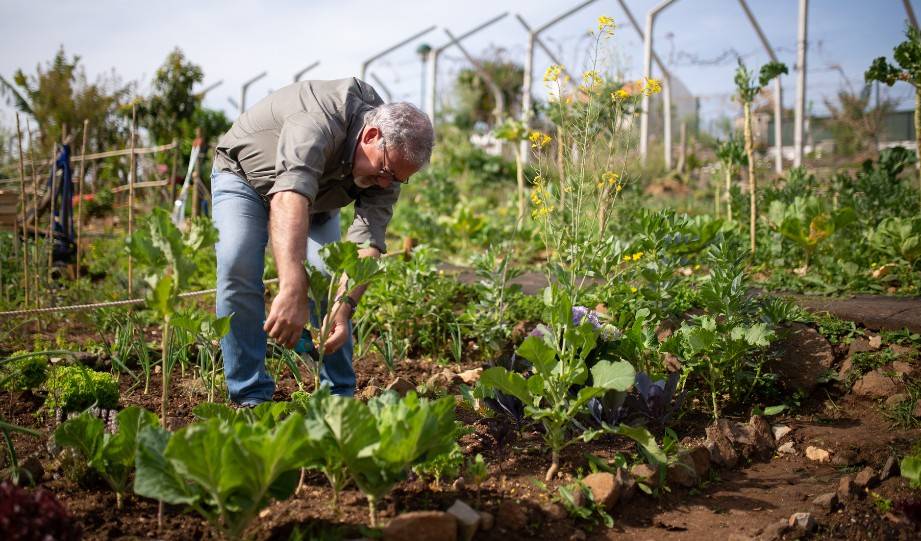
No-dig gardening works by creating a nurturing environment for both plants and the ecosystem within the soil, essentially mimicking the natural processes found in undisturbed habitats.
At its core, this method involves layering organic materials, such as compost, mulch, and sometimes straw, directly on top of the soil. These materials gradually break down, enriching the soil with nutrients, improving its structure, and enhancing moisture retention—key factors in plant health and productivity.
Soil structure benefits immensely from the no-dig approach. Instead of being compacted through tilling, the soil remains loose and aerated, allowing roots to penetrate more easily and access the water and nutrients they need to thrive.
This loose structure also provides an ideal environment for earthworms and beneficial microorganisms, which play critical roles in nutrient cycling—converting organic matter into nutrients that plants can use.
The layers of organic material not only feed the soil but also help to retain moisture. In traditional gardening, the soil surface can become hard and compacted, causing water to run off rather than infiltrating to reach plant roots.
In contrast, the mulch used in no-dig gardens acts like a sponge, holding water and releasing it slowly over time, making water use more efficient and helping plants to withstand periods of drought.
Moreover, as these organic layers break down, they feed the microorganisms and fungi in the soil, creating a symbiotic relationship between these organisms and plant roots.
These beneficial microbes can enhance plant growth by improving nutrient uptake and even protecting plants from diseases and pests.
How to Start Your No-Dig Garden
Choosing the Right Location
Setting up your no-dig garden starts with choosing the right location, a crucial step that influences the success of your gardening efforts. When scouting for the perfect spot, there are three key factors to consider: sunlight, water access, and existing vegetation.
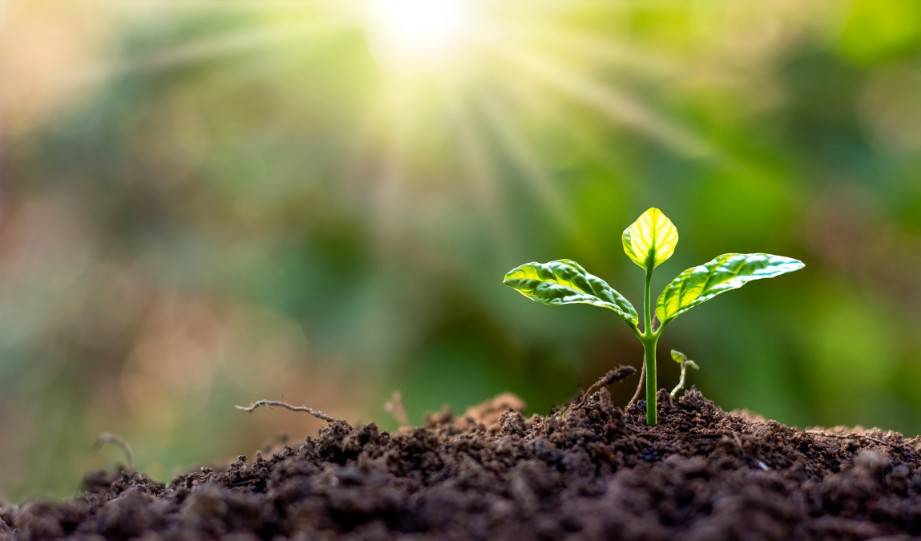
Sunlight is essential for the growth of most vegetables, with the ideal being a location that receives at least six to eight hours of direct sunlight per day.
Observe potential spots throughout the day to identify areas that meet this requirement. Remember, leafy greens can tolerate some shade, but fruits and root vegetables generally need more sun.
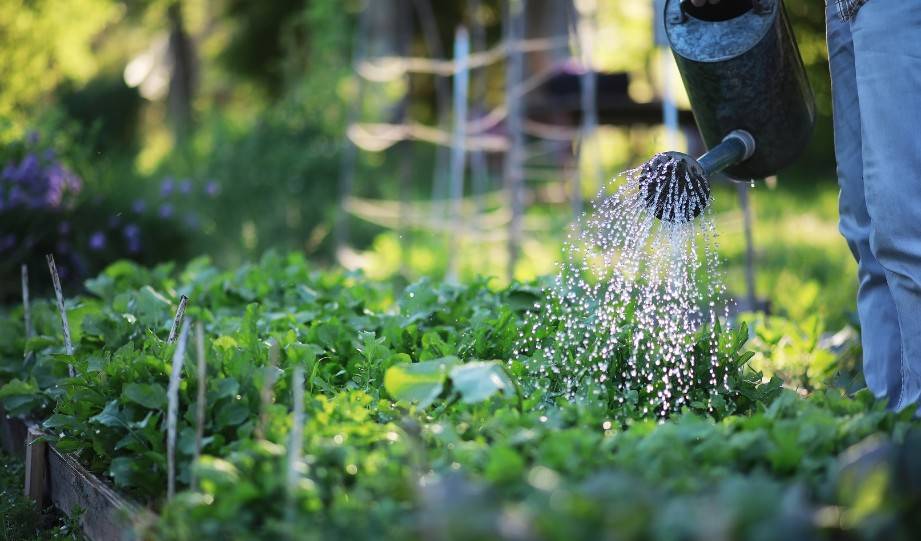
Water access is another critical factor. Your garden needs to be near a reliable water source to make watering convenient and efficient.
This is particularly important during the peak of summer when plants may need daily watering.
A nearby hose, rainwater collection system, or even a simple watering can refill point can make a significant difference in the ease of maintaining your garden.
Existing vegetation can tell you a lot about the soil and the amount of work required to prepare your no-dig bed.
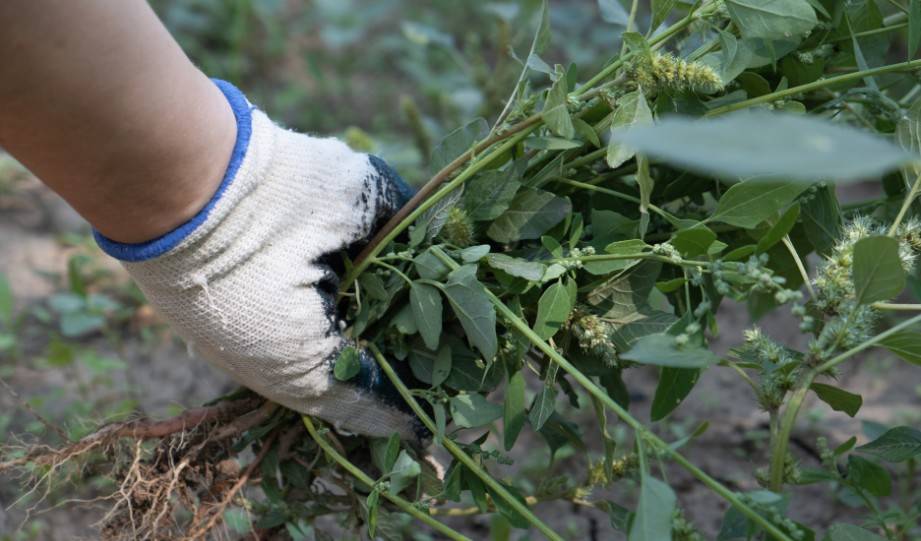
While no-dig gardening minimizes the need to remove all existing vegetation due to the layers you’ll add on top, heavy weed infestations or invasive plants might need some initial management.
Additionally, the presence of healthy, native plants can be a good indicator of fertile soil.
Materials You Will Need
Setting up your no-dig garden requires a few essential materials, each serving a unique purpose to create a thriving, productive garden space. Here’s what you’ll need:
1. Cardboard: Thick, unwaxed cardboard acts as the first layer in your no-dig garden. It serves a dual purpose: suppressing existing weeds and grass by blocking their access to sunlight, while also breaking down over time to contribute to the soil’s organic matter. Ensure any tape or labels are removed before laying it down.
2. Compost: The cornerstone of no-dig gardening, compost provides the primary nutrient supply for your garden. Rich in organic matter, it feeds the soil as it decomposes, fostering a healthy environment for your plants to grow. Aim for well-rotted compost to jumpstart your garden’s productivity.
3. Mulch: A layer of mulch on top of your compost helps retain moisture in the soil, reduces weed growth, and adds to the aesthetic appeal of your garden. Organic mulches like straw or bark chips are preferable, as they break down over time to enrich the soil further.
4. Manure: Well-aged manure is an excellent addition to your compost layer, introducing additional nutrients and beneficial microorganisms to the soil. Horse, cow, or chicken manure are all good options, but ensure they are well-composted to avoid introducing pathogens or weed seeds.
5. Watering System: While not a ‘material’ in the traditional sense, planning for efficient water access is crucial. A drip irrigation system or soaker hoses can provide steady, low-level moisture directly to the roots, where plants need it most.
6. Optional Amendments: Depending on your soil’s existing condition, you might consider adding specific amendments. For instance, if your soil is particularly sandy and drains too quickly, adding vermiculite can help improve water retention. Similarly, if your soil is heavy and clay-like, adding sand can improve drainage.
Creating Your No-Dig Vegetable Bed
Creating your no-dig vegetable bed is a straightforward process that can yield rewarding results. Follow these step-by-step instructions to get your garden started:
1. Prepare the Site
Begin by mowing or cutting down any existing vegetation in the area you’ve chosen for your garden. There’s no need to remove the grass or weeds completely; they will decompose under the layers you’re about to add.
2. Lay Cardboard
Cover the area with cardboard, overlapping the edges to ensure no gaps. This layer blocks light, effectively smothering any existing vegetation underneath. Wet the cardboard thoroughly to help it adhere to the ground and start the decomposition process.
3. Add Compost
Spread a generous layer of compost (about 4-6 inches) over the cardboard. This layer will act as the primary growing medium for your plants, providing them with the nutrients they need to thrive.
4. Apply Mulch
Over the compost, add a layer of mulch. This could be straw, leaves, or wood chips, which will help retain moisture, suppress weeds, and gradually break down into the soil, adding further nutrients.
5. Plant Your Seeds or Seedlings
Once your bed is prepared, you can plant your seeds or seedlings directly into the compost layer. If planting seeds, you may need to add a thin layer of finer compost or potting mix on top to cover them lightly.
6. Water Well
After planting, give your garden a good watering. The mulch layer should keep moisture in, but ensure the compost remains damp, especially during the initial stages of plant growth.
Maintaining Your No-Dig Garden
Watering
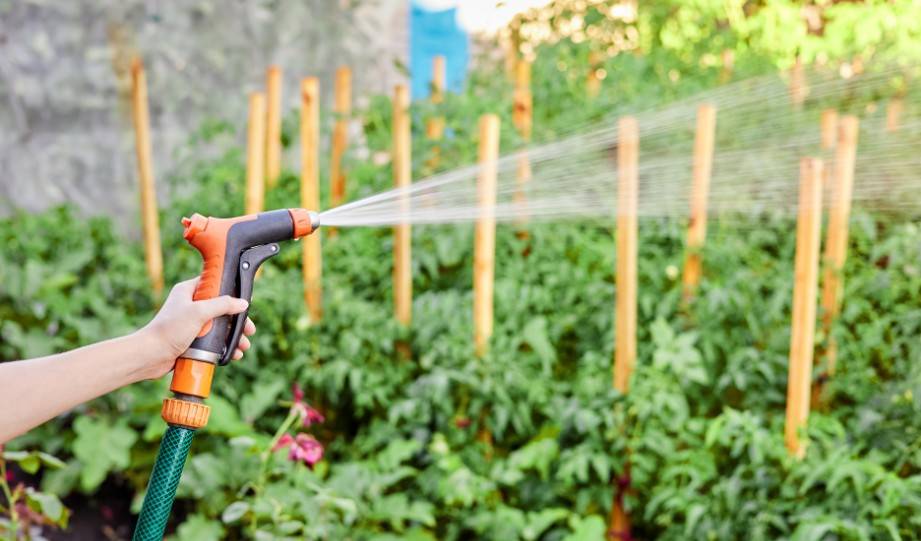
Maintaining your no-dig garden with efficient watering practices is essential for encouraging deep root growth and ensuring your plants are healthy.
Watering deeply but infrequently is key, as it encourages roots to extend deeper into the soil in search of moisture, which in turn makes your plants more resilient and reduces their overall water needs.
Utilizing drip irrigation or soaker hoses can be incredibly effective, as these systems deliver water directly to the base of the plants, drastically reducing evaporation and ensuring that water is used where it’s most needed.
It’s best to water your garden in the early morning hours; this timing helps reduce evaporation and also assists in preventing fungal diseases by allowing foliage to dry out during the day.
Keeping a good layer of mulch on your beds will further aid in retaining soil moisture, thereby cutting down the frequency with which you need to water.
Adding More Layers
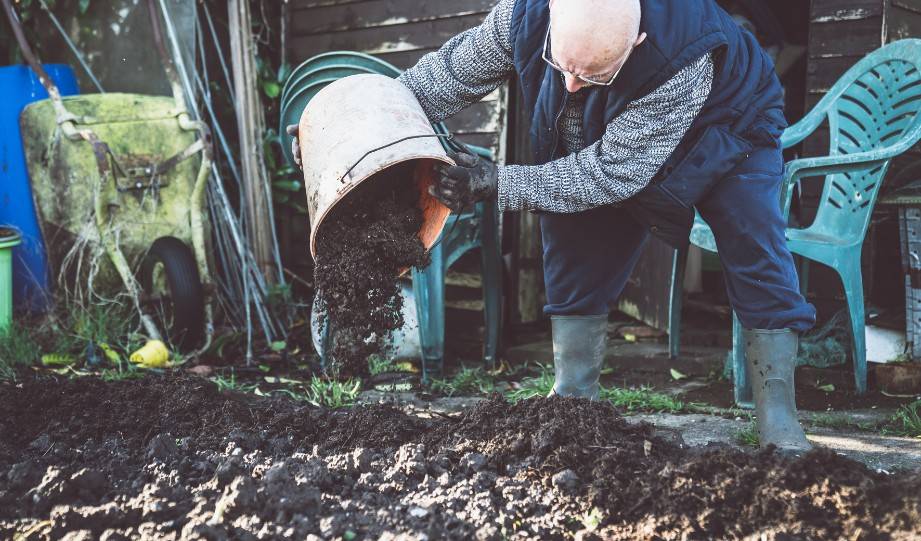
As your no-dig garden matures, adding more layers becomes an integral part of its upkeep, ensuring continuous soil fertility and plant health.
Typically, the best time to add new layers is in the early spring or autumn, when garden activity is either ramping up or winding down.
During these seasons, spread a fresh layer of compost about 2-4 inches thick across the top of your beds. This will replenish nutrients used by the previous season’s plants and introduce new organic matter for microorganisms to break down.
If weeds start to appear or the mulch layer seems thin, it’s also a good time to add more mulch on top of the compost.
This not only suppresses weeds but also helps retain soil moisture and regulate temperature.
Dealing with Pests and Weeds
In a no-dig garden, managing pests and weeds organically aligns with the philosophy of working with nature rather than against it.
For pests, introduce beneficial insects like ladybugs and lacewings, which naturally control aphid populations.
Companion planting can also deter pests; for example, planting marigolds can repel nematodes and other garden pests.
For stronger infestations, neem oil or insecticidal soaps offer organic solutions that minimize harm to beneficial insects.
Weed control in a no-dig garden is simplified by the initial layers of cardboard and mulch, which suppress weed growth.
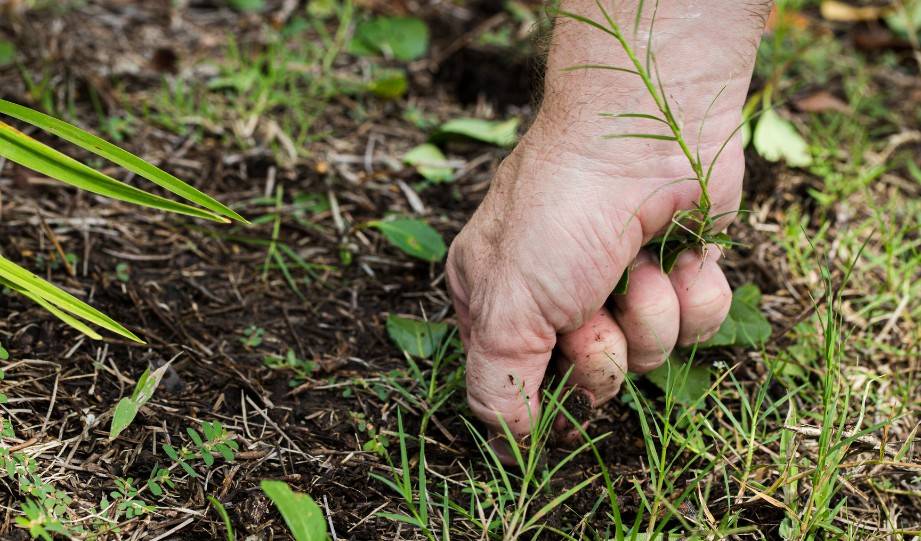
However, some persistent weeds may emerge. Hand-pulling these invaders is more manageable due to the loose, rich soil.
Applying a thick layer of mulch annually can further prevent weeds by blocking sunlight.
Troubleshooting Common Problems
Troubleshooting common problems in a no-dig garden often requires observation and a gentle, organic approach to rectify issues without disturbing the natural balance of the garden’s ecosystem.
Poor Plant Growth
If your plants are struggling, consider the quality of your compost and whether it provides a rich enough nutrient supply.
Poor growth often stems from nutrient deficiencies, so incorporating a more varied compost or adding specific organic fertilizers, like bone meal for phosphorus or blood meal for nitrogen, can help.
Also, check soil moisture levels; inconsistent watering might stress plants, hindering their growth.
Pests
When pests appear, identification is the first step to managing them organically.
Physical barriers, such as insect netting or row covers, can protect plants from many common pests.
Introducing or encouraging beneficial predators, as mentioned earlier, remains an effective strategy.
For specific pests, organic pesticides like neem oil can be applied judiciously, targeting affected areas without harming beneficial insects.
Weeds
Despite initial suppression efforts, some weeds may break through.
Regular mulching helps prevent most weed growth, but for those that emerge, pulling them by hand when they are young and before they set seed is the best approach.
Ensure to disturb the soil as little as possible to avoid bringing new weed seeds to the surface.
Watering Issues
Over or under-watering can also lead to problems.
A moisture meter can help you monitor soil moisture levels effectively, ensuring you water just enough to keep plants healthy without encouraging root rot or drought stress.
Benefits of No-Dig Gardening
Environmental Benefits
No-dig gardening promotes soil health by preserving its structure and the biodiversity within it. By not disturbing the soil, we protect the habitat of beneficial organisms essential for nutrient cycling and disease suppression.
This method also significantly reduces water runoff and erosion, thanks to the improved water retention of mulched and composted layers.
Moreover, by relying on organic materials and reducing the need for chemical fertilizers and pesticides, no-dig gardens contribute to a healthier, more sustainable ecosystem.
Physical Advantages
One of the most immediate benefits of no-dig gardening is the reduction in physical labor.
Traditional gardening methods can be backbreaking, but no-dig gardening eliminates the need for tilling, drastically cutting down on the time and effort required to maintain a garden. This makes gardening more accessible to everyone, regardless of age or physical ability.
Yield-Related Advantages
Gardeners who adopt the no-dig method often report increased yields compared to traditional methods.
The rich, well-aerated soil provides an ideal environment for plant roots to thrive, leading to healthier, more productive plants.
Conclusion
Throughout this article, we’ve explored the transformative power of no-dig gardening, a method that champions soil health, reduces physical labor, and promises abundant yields. By nurturing the soil with layers of organic matter and allowing nature to do the heavy lifting, we create a thriving garden ecosystem that benefits our health, the environment, and our wallets.
I encourage you to embark on your no-dig gardening journey. It’s a simple, sustainable step towards a more productive garden and a healthier planet. So, grab some compost, lay down that cardboard, and watch your garden flourish.


