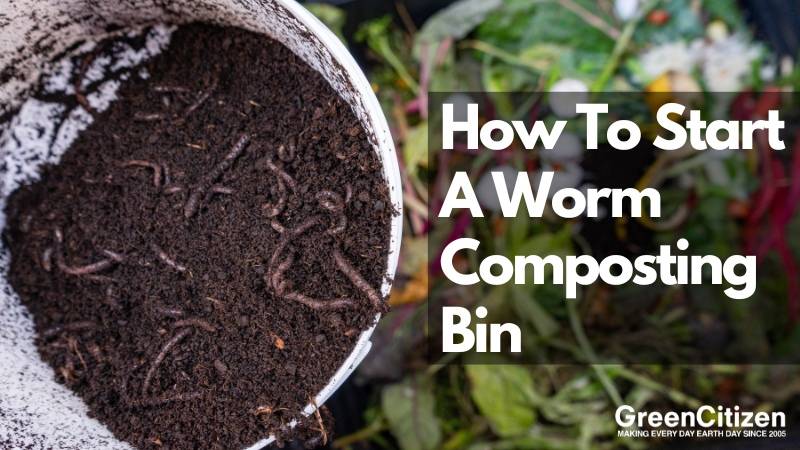
Sustainable practices are all the rage these days, and worm composting is no exception. Imagine turning your kitchen scraps into garden gold with just a little effort and some wiggly friends.
Worm composting isn’t just a trendy buzzword; it’s an easy, low-maintenance way to make a big impact on your garden and the planet.
With just a container, some worms, and leftover veggies, you can start reducing waste and enriching your soil. In this blog, you’ll learn everything you need to know about worm composting—from the basics to the benefits, and even some pro tips to keep your compost thriving. Ready to dive in? Let’s get started!
Why Use Worms for Composting?
Why should you let worms handle your composting? Simple—these tiny workers are nature’s recyclers. Worm composting is a fantastic way to keep food waste out of landfills, where it would otherwise rot and produce greenhouse gases.
By feeding your leftovers to worms, you’re not only reducing waste but also helping the environment by recycling organic material into valuable compost.
Worm castings, or “worm poop,” are like superfood for your soil. They’re packed with nutrients that improve soil structure, boost water retention, and increase soil aeration. That means healthier plants, better yields, and a thriving garden—all without the need for chemical fertilizers.
Plus, worm composting can save you money. Instead of buying expensive fertilizers, you get a continuous supply of nutrient rich compost for free.
And the best part? It’s completely organic, making it perfect for those who want a chemical-free garden. Your plants will thank you, and so will the planet!
How to Get Started with Worm Composting
Choosing the Right Worms
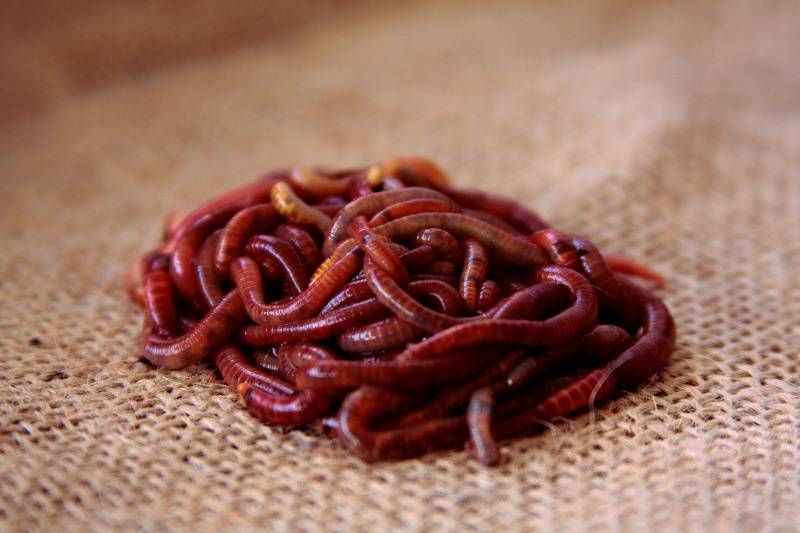
Red wigglers are the undisputed champs when it comes to composting. These little guys thrive in confined spaces, making them perfect for a worm bin. They’re not just survivors—they’re super-efficient at breaking down organic material into nutrient-rich compost. I’ve tried using them myself, and trust me; they’re like tiny composting machines!
Red wiggler worms were once only found in bait shops, but their popularity has soared, and now you can easily order them online. A pound of worms—about 1,000 wigglers—can munch through half their weight in food scraps every day.
This means that if you collect your kitchen scraps and weigh it, you’ll know exactly how many worms you need to keep things balanced.
It’s crucial to get the right amount of worms. I’ve learned this the hard way—twice! Not getting enough worms led to the extra scraps rotting before the worms could eat them. So, make sure you’re well-stocked with your wiggly workers to avoid any composting hiccups.
If you’re feeling adventurous, you might consider other species like Lumbricus rubellus, also known as the red earthworm. They’re not as common as red wigglers but can still do a solid job in your worm bin. However, red wigglers are the go-to choice for most people because they’re easy to care for and get the job done quickly.
So, stick with the wigglers, and you’ll be on your way to composting success in no time!
Selecting a Worm Bin
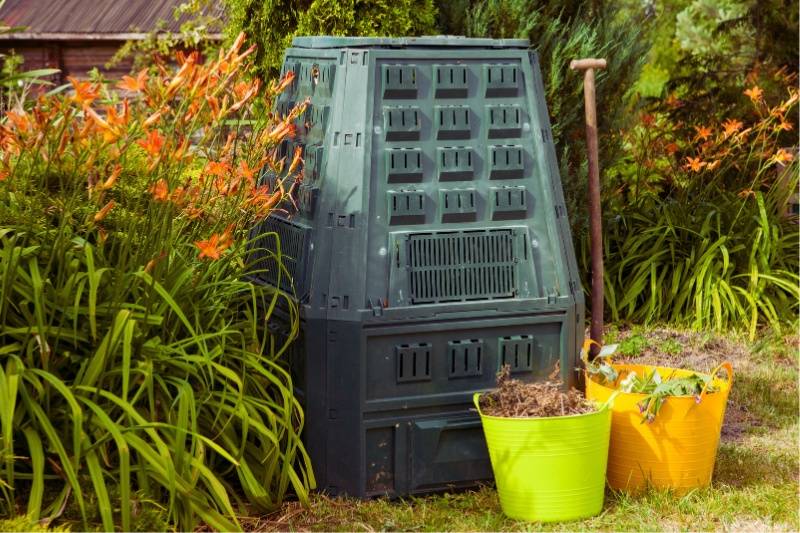
Choosing the right worm bin is like picking the perfect home for your wiggly composters. You can either go DIY or buy a ready-made bin, and each option has its perks.
A DIY bin, like a simple plastic bin with holes, is budget-friendly and customizable. Make sure not to drill holes in the lid, as worms don’t need light. Bins with bottom holes can offer drainage, and side holes can offer proper airflow.
But, if you’re after convenience, store-bought options like stacking trays or continuous flow-through systems are hard to beat—they make harvesting compost a breeze.
Size matters, too! Pick a bin that matches your food waste output. A compact bin works fine for smaller households, but if you have lots of scraps, go bigger. Plastic bins are lightweight and easy to clean, but wood bins have a rustic charm and offer better insulation.
As for placement, keep the bin in a shady, cool spot—indoors or out—where it won’t overheat or freeze. I’ve found that a corner in the garage or under the kitchen sink works perfectly.
Setting Up Your Worm Composting Bin
Setting up your worm composting bin is like preparing a cozy bed for your little composters. The bedding is crucial—it’s where your worms will live and work their magic.
Shredded newspaper is a classic choice because it’s readily available and easy to break down. Cardboard, especially the corrugated kind, adds structure and helps with airflow. Coconut coir is another great option; it’s light, fluffy, and retains moisture well.
Keeping the bedding moist but not wet is key. Think of a damp sponge—it should be moist enough to hold together but not dripping. I’ve found that a light misting with a spray bottle every few days does the trick, especially if you live in a dry area.
Once your bedding is ready, it’s time to introduce the worms. Gently place them on top of the bedding, and they’ll naturally burrow down to escape the light. Let them settle in for a few days before you start adding food scraps. This gives them time to acclimate to their new home and get comfortable.
With a little care and attention, your worms will be ready to start transforming waste into finished compost in no time!
Maintaining a Healthy Worm Composting System
Feeding Your Worms
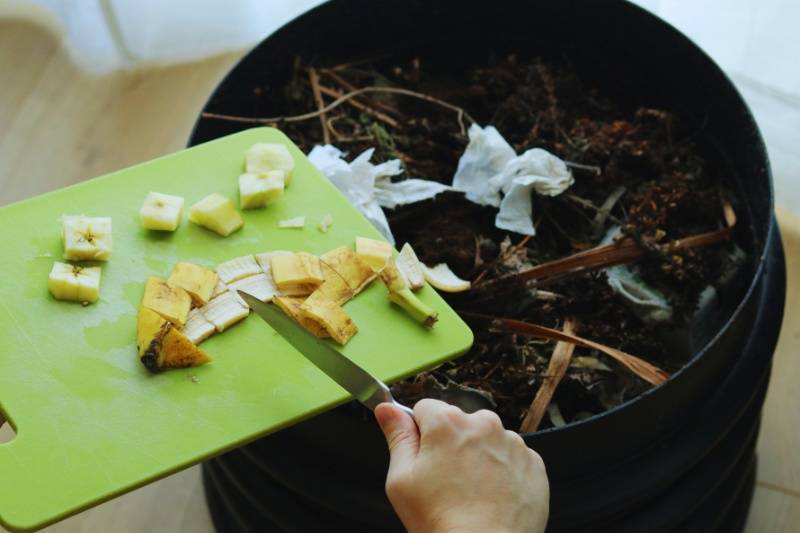
Feeding your worms is like planning a healthy diet—they thrive on the right mix of foods. Fruits, vegetable scraps, and eggshells are perfect for your worm bin. My worms love banana peels and leafy greens, and eggshells help add grit, which aids their digestion.
But not everything is worm-friendly. Avoid meat scraps, dairy, and oily foods—these can rot, smell, and attract pests. Trust me, I once made the mistake of tossing in a bit of leftover pizza, and the smell was unforgettable (and not in a good way!).
Worms can be picky with certain items. They struggle with tough stems, onion skins, and too much citrus. If you’re adding orange peels, keep it to less than 20% of their total diet. Also, steer clear of pet waste—dog or cat feces are a big no-no.
On the plus side, you can include non-plastic tea bags, coffee grounds, shredded paper towels, and filters. If you notice they’re leaving food behind, try chopping it into smaller pieces.
As a rule of thumb, a pound of worms can handle about three pounds of waste per week, or twelve pounds a month. Start small, and adjust as you see how quickly they eat. Overfeeding can lead to a stinky mess and unhappy worms, so finding the right balance is key.
With the right diet, your worms will stay healthy, and your worm organic compost will thrive!
Monitoring the Bin Environment
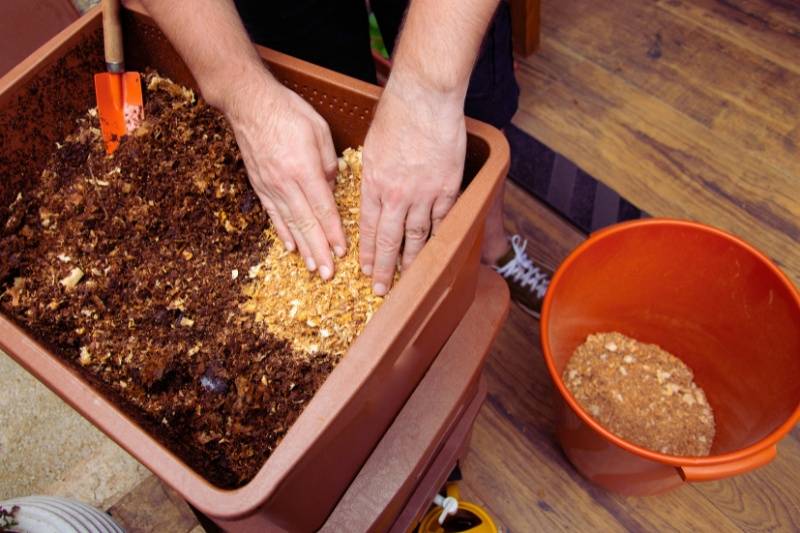
Keeping your worm bin in the right environment is key to happy, productive worms. The ideal temperature range is between 55°F and 77°F. Too hot or too cold, and your worms might slow down—or worse, they could die.
I’ve found that during summer, keeping the bin in a shady spot helps, while in winter, moving it indoors or adding insulation keeps things cozy.
Moisture is another critical factor. The bedding should feel like a damp sponge—moist but not soggy. If it gets too wet, add dry materials like shredded newspaper. If it’s too dry, a light misting with a spray bottle will do the trick.
Ventilation is also crucial to prevent anaerobic conditions, which can cause a stinky, unhealthy bin. Ensure your bin has plenty of air holes, and give the bedding a gentle stir every now and then to keep the air flowing. Proper airflow ensures that your worms can breathe and that the composting process stays on track.
Troubleshooting Worm Composting Issues
Even with the best intentions, worm composting can hit a few bumps. Here’s some common issues you might face:
1. Smelly Bins
A smelly bin is a common issue, often caused by overfeeding or poor ventilation. If your bin smells like rotting food, it’s time to cut back on feeding and stir the bedding to let in some air.
Also, cutting the food waste into little chunks can help them process it faster. Adding dry materials like shredded cardboard can also help soak up excess moisture, often the culprit behind odors.
2. Fruit Flies
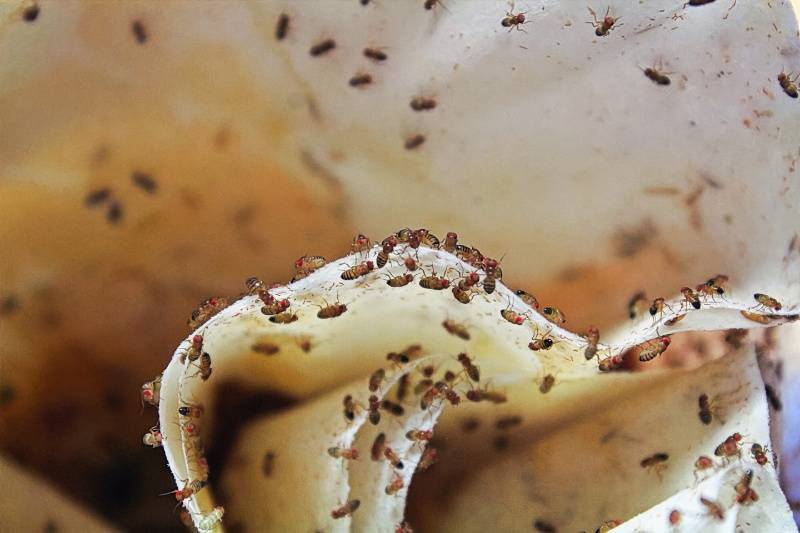
It’s very easy to attract fruit flies when you are just a beginner. Fruit flies love worm compost bins, but you can keep them at bay by always burying your food scraps under the bedding.
If they do show up, covering the bin with a piece of fabric or a lid with small holes can keep them out while still allowing airflow. Also, throwing away rotting food from the compost helps greatly.
3. Worms Trying to Escape
A few worms might try to escape from here and there, but if the number is too high, it’s usually a sign that something’s off. Check the moisture level—it shouldn’t be too wet or too dry.
Also, ensure the temperature is within their comfort range. I once had a batch of worms try to make a break for it because the bin got too hot in direct sunlight.
4. Infestation
Bugs in compost can cause another headache. To prevent unwanted guests like ants or mites, avoid adding oily foods, keep the bin clean, and ensure it’s properly ventilated. If insects invade, removing fruit and vegetable scraps and adding fresh bedding usually solves the problem.
Harvesting and Using Worm Compost
When to Harvest Your Compost
Knowing when to harvest your compost is key to getting the most out of your worm bin. The best cue is the compost itself—look for a rich, dark brown color and a crumbly texture, almost like coffee grounds. If you can’t see much of the original bedding or food scraps, it’s a good sign that your compost is ready.
As for timing, how often you harvest depends on how active your bin is and the size of your worm population. Typically, every three to six months works for most setups. If your worms are particularly busy and your bin fills up quickly, you might need to harvest more frequently.
I’ve found that keeping an eye on the bin’s fullness and the activity of the worms helps me time the harvest just right. Remember, harvesting too early can mean missing out on fully finished compost, while waiting too long can overcrowd the bin.
Different Harvesting Methods
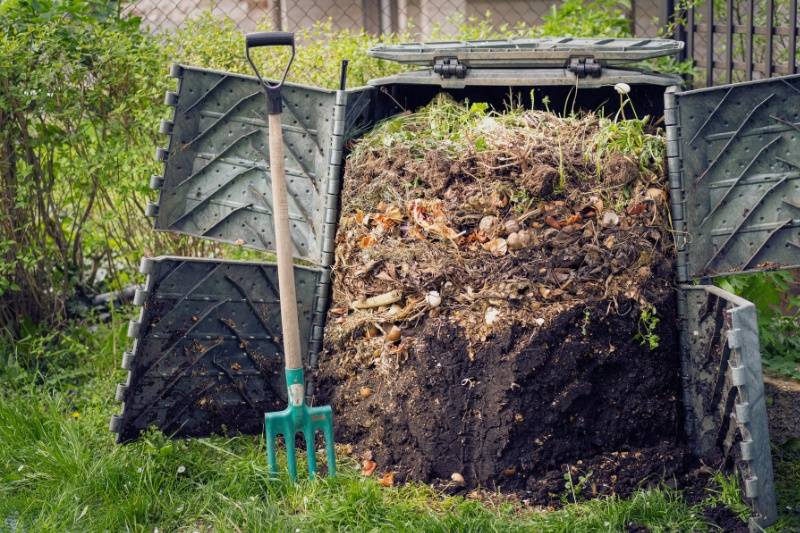
Harvesting worm compost can be done in several ways, depending on your setup and preference. One popular technique is the lure method. You add fresh bedding and food scraps to one side of the bin, encouraging the worms to migrate toward it.
Over a few weeks, they’ll leave behind the finished compost on the other side, making it easy to scoop out the rich, worm-free compost.
Another method is the dump method, which I’ve used when in a hurry. You simply dump the entire bin’s contents onto a large tarp. Under a bright light, the worms will burrow down to escape, gradually allowing you to scrape off the compost from the top. It’s a bit messy, but it gets the job done.
For those with continuous flow-through systems, harvesting is even easier. These systems are designed to let finished compost fall to the bottom, where you can easily collect it without disturbing the worms above. It’s like having a composting machine that never stops working!
Each method has its own perks, so choose the one that fits your style. Whether you’re luring, dumping, or using a flow-through system, you’ll end up with that precious black gold for your garden.
Where to Use Worm Castings
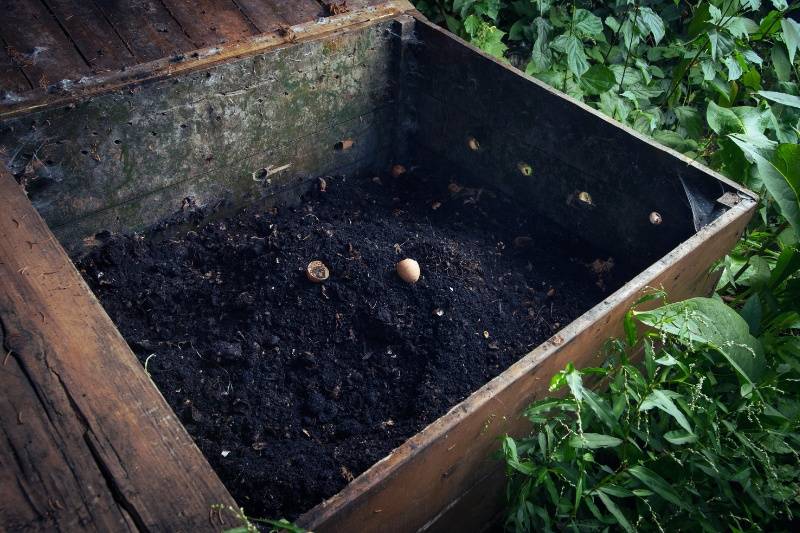
Worm castings, often called “black gold,” can work wonders in your garden. They’re easy to use and incredibly versatile. For garden beds, simply sprinkle a thin layer of castings around your plants and lightly mix them into the topsoil.
In pots and containers, I like to blend the castings into the potting soil before planting—about 20% castings to 80% soil is a good ratio. Your plants will love the boost of nutrients and improved soil structure.
Worm tea is another great way to use castings. To brew, take a handful of castings and steep them in water overnight, just like making tea. Use the liquid to water your plants or spray it on leaves as a natural fertilizer. I’ve noticed my plants perk up almost immediately after a good dose of worm tea.
As for how much to use, a little goes a long way. For most garden plants, a handful of castings per square foot is plenty. For heavy feeders like tomatoes, you can double that amount. Remember, the goal is to enrich the soil, not overwhelm it, so use it in small quantities.
Tips for Successful Worm Composting
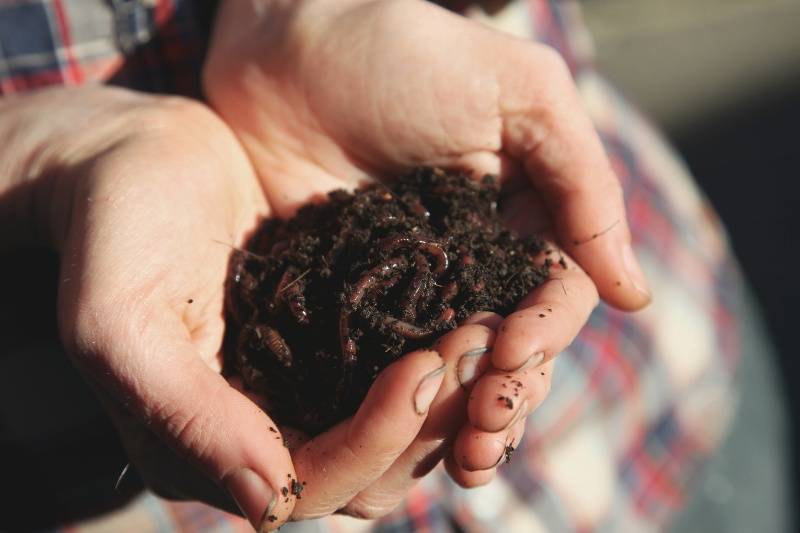
Keeping your worms healthy and active is crucial for a thriving compost system. Here are a few tips for making your composting a success:
Boosting Worm Activity
- Add grit: Sprinkle sand, crushed eggshells, or a bit of garden soil into the bin. This helps worms digest food more efficiently, just like roughage in our diet.
- Enhance microbial activity: Use compost starters or a handful of garden soil to introduce beneficial microbes. These tiny helpers break down organic material faster, making it easier for worms to process.
- Keep things fresh: Regularly turn the bedding to aerate it, encouraging worms to stay active and productive.
Managing Large-Scale Systems
- Scale up wisely: Start by adding more bins or upgrading to larger outdoor systems. These systems can handle more waste but require more attention to moisture, temperature, and airflow.
- Outdoor advantages: Large-scale systems offer greater capacity and can process waste faster. However, they’re more vulnerable to weather changes, so you’ll need to monitor them closely.
- Stay organized: Keep track of your bins and regularly rotate the compost to ensure all the material breaks down evenly.
Maintaining Worm Health
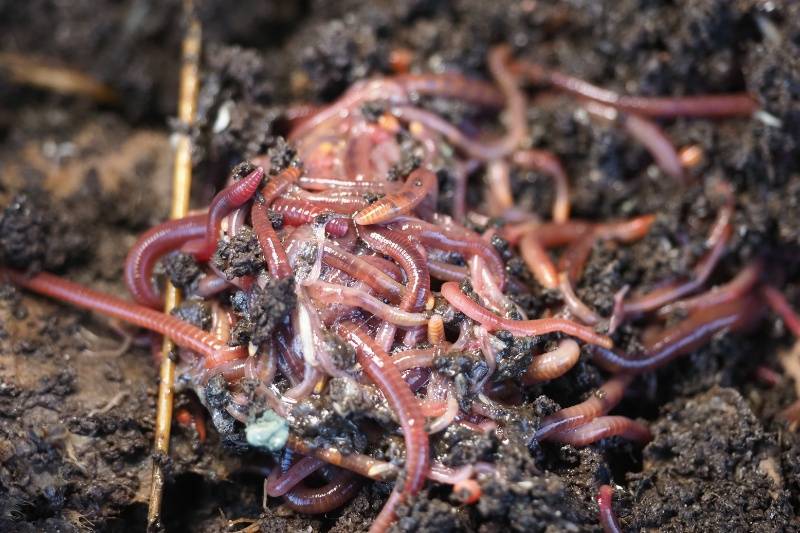
- Signs of stress: If your worms look sluggish, are clumping together, or are trying to escape, something’s off. Check for excess moisture, improper pH, or extreme temperatures.
- Prevent overcrowding: Worms multiply quickly, so managing their worm population is important. If your bin gets crowded, consider splitting it into a new bin or sharing some worms with friends.
Seasonal Care
- Hot Weather: Keep your bin in a cool, shaded area to prevent overheating. Adding fresh bedding and misting it with water can help maintain the right moisture level.
- Cool Weather: During colder months, consider moving the bin indoors or insulating it with straw or blankets to keep the worms warm. Feeding should also be adjusted—worms eat less in cold weather, so reduce the amount you give them to avoid too much food rotting.
Worm Composting in Different Settings
Urban Apartments
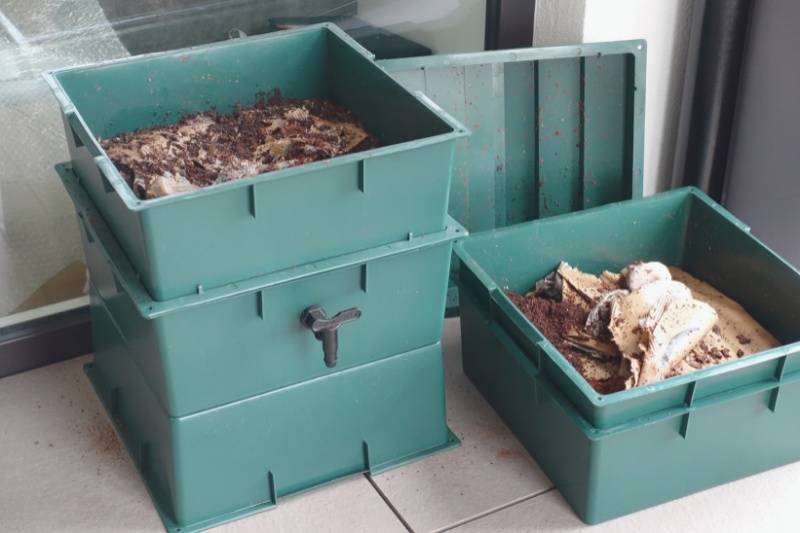
Worm composting in an apartment is easier than you might think. Opt for a compact, stackable bin that fits under your kitchen sink or in a closet. These indoor worm bins are designed to be odor-free when properly maintained, making them perfect for indoor spaces.
To keep smells at bay, always bury food scraps under the bedding and avoid overfeeding. Adding a layer of shredded newspaper on top of the bedding can also help with odor control. I’ve found that a small, well-ventilated bin can work wonders, even in the tightest spaces.
With the right setup, you can successfully compost indoors in any urban apartment.
Suburban Homes
In suburban homes, you have the luxury of more space, making worm composting even easier. Set up your worm bin in the backyard or garage, where it’s protected from extreme weather but still accessible.
I’ve found that combining worm composting with regular composting is a great way to manage all your organic waste. Use a traditional compost pile for larger yard debris, and let your worms handle the kitchen scraps. The worm castings can then be mixed into the compost for an extra nutrient boost.
Schools and Community Gardens

Worm composting is a fantastic way to teach kids about sustainability and biology. In schools, it’s a hands-on tool that brings lessons to life—students can see the composting process in action and learn about ecosystems. In community gardens it promotes collaboration and environmental responsibility.
For best results, keep the worm bins in shaded areas and ensure they’re well-ventilated.
Regularly involve students or volunteers in feeding the worms and maintaining the bin. I’ve seen how excited kids get when they check on the worms—it’s an engaging way to create eco-friendly habits.
Start Worm Composting Today!
Worm composting offers a triple win: it’s eco-friendly, cost-effective, and boosts your garden’s health. Whether you live in a small apartment or have a spacious backyard, there’s a worm composting solution for you.
Starting is easy, and the rewards are endless—just imagine turning kitchen scraps into rich, nourishing compost! Why wait? Get started today and see the difference worm composting can make.
Frequently Asked Questions (FAQ)
Worms typically take about three to six months to produce fully finished compost, depending on factors like the size of the worm bin, the amount of food waste, and the worm population. Regularly harvesting the compost ensures the worms have fresh bedding to work on.
Yes, worms can compost paper and cardboard! Shredded newspaper, cardboard, and even paper towels are excellent bedding materials. They break down easily and help maintain the right moisture levels in the bin. Just avoid glossy paper or colored paper, as the inks can be harmful.
Absolutely! Coffee grounds are a great addition to your worm bin. They’re rich in nitrogen, which worms love. Just be sure to add them in moderation and mix them with other food scraps to keep a balanced diet for your worms.
Healthy worms are active and evenly distributed throughout the worm bin. If they’re moving slowly, clumping together, or trying to escape, something might be off—check the moisture, temperature, and food supply. A balanced environment keeps your worms thriving.
Worms can be left unattended for a week or two as long as they have enough food and the worm bin conditions are stable. If you’re going away for longer, add extra bedding and food before you leave, and make sure the worm bin is in a stable environment.
Yes, worm composting is generally safe for pets and children. The bin itself is usually contained and odor-free when properly maintained. It can even be a great educational tool for kids to learn about recycling and biology. Just ensure that curious pets or toddlers don’t have unsupervised access to the worm bin.
- Overfeeding: Adding too much food can lead to rotting food, bad smells, and a stressed worm population.
- Poor moisture control: The bedding should be moist, like a damp sponge, but not soggy. Excess moisture can harm the worms.
- Ignoring temperature: Red worms thrive in temperatures between 55°F and 77°F. Extremes can slow down composting or even kill the worms.
- Using the wrong foods: Avoid meat scraps, dairy, and oily foods, as they can cause odor problems and attract pests.
- Neglecting the bin: Failing to harvest compost or add fresh bedding can lead to overcrowding and a decline in worm health.

