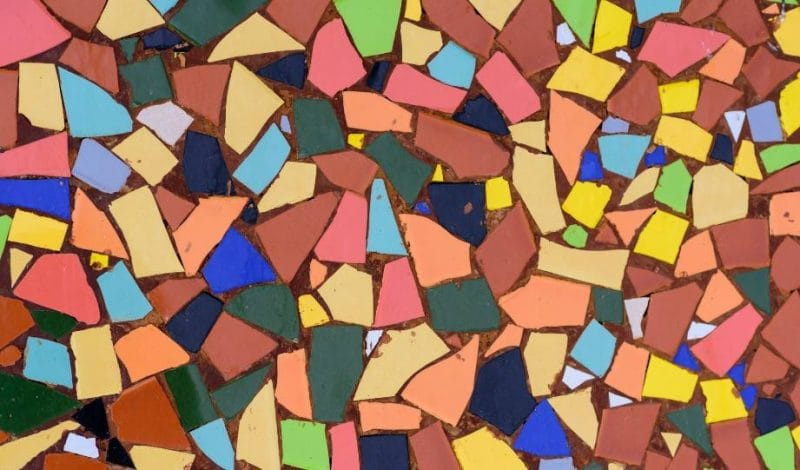
Upcycling is the art of transforming unwanted materials into new, valuable products.
This eco-friendly practice not only reduces waste but also sparks creativity, offering a second life to items that would otherwise end up in landfills.
Broken ceramics, often seen as trash, hold immense potential for creating stunning mosaic art.
In this article, I’ll guide you through the process of upcycling these shattered pieces into beautiful, unique artworks.
My goal is to provide you with a comprehensive, step-by-step approach to turn broken ceramics into masterpieces, merging environmental sustainability with artistic expression
What Is Upcycling?
Upcycling is a creative reuse process that involves transforming by-products, waste materials, or unwanted items into new materials or products of better quality or for better environmental value.
Unlike recycling, which breaks down materials to their raw form to create something new, upcycling creatively repurposes them without significant alteration, enhancing their aesthetic and functional value.
This distinction highlights the creativity inherent in upcycling, as it requires vision and innovation to see the potential in what might otherwise be considered waste.
Furthermore, upcycling embodies sustainability, reducing the need for new raw materials and minimizing waste.
By upcycling, we not only contribute to waste reduction but also participate in an eco-conscious crafting movement that values resourcefulness and environmental responsibility.
This sustainable crafts practice is not just about saving items from landfills; it’s also about adding value and beauty to our lives and the environment.
Preparing for Your Mosaic Art Project
Gathering Materials
To embark on your mosaic art project, gathering the right materials is essential.
You’ll need broken ceramics, which are the cornerstone of your artwork.
If you don’t have these readily available, consider reaching out to local cafes, restaurants, or even friends and family who might have cracked plates or cups they’re planning to discard.
This not only provides you with materials but also helps in the eco-friendly art movement by preventing these items from ending up in landfills.
Other necessary tools and materials include:
- Adhesive: A strong glue suitable for ceramics.
- Grout: To fill in the gaps between your ceramic pieces.
- A base for your mosaic: This could be a table top, a picture frame, or any flat surface you wish to decorate.
- Safety gear: Gloves to protect your hands and safety glasses to shield your eyes from ceramic shards.
- Tile nippers: For shaping and resizing your ceramic pieces.
Emphasize the reuse of household items not only as bases for your mosaic but also as potential sources of broken ceramics.
Check your own kitchen for any cracked or chipped items that could be given a new life in your mosaic art.
This approach not only makes your project more sustainable but also adds personal significance to your artwork, transforming memories into visual narratives.
Handling Broken Ceramics
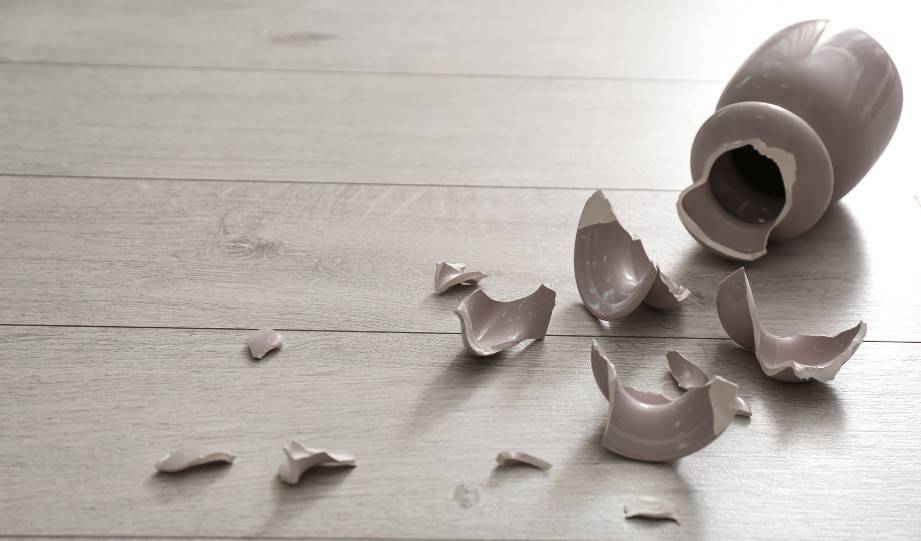
When creating mosaic art from broken ceramics, prioritizing safety is paramount.
The edges of broken ceramics can be sharp and potentially dangerous, making it essential to handle them with care to prevent injuries.
Personal Protective Equipment (PPE) is crucial
- Gloves: Wear thick, durable gloves to protect your hands from cuts. Leather or heavy-duty gardening gloves are excellent choices.
- Safety glasses: Protect your eyes from flying shards when cutting or breaking ceramics further. Always wear safety glasses during these processes.
Additional safety guidelines include:
- Work in a well-ventilated area: Dust from cutting or sanding ceramics can be harmful if inhaled. Ensure your workspace is well-ventilated, and consider wearing a dust mask for extra protection.
- Be organized: Keep your workspace tidy to avoid accidents. Have a designated area for sharp ceramic pieces and another for tools and adhesives.
- Proper disposal: Dispose of ceramic waste responsibly. Wrap sharp pieces in newspaper or cardboard before disposing of them in the trash to prevent injury to sanitation workers.
Step-by-Step Guide to Making Mosaic Art from Broken Ceramics
1. Designing Your Mosaic
Designing your mosaic is a crucial step in the creative upcycling process, where your vision begins to take shape.
Before you start assembling your broken ceramics, spend some time planning your design.
This preliminary step ensures that your project is not only aesthetically pleasing but also achievable.
Importance of Planning
Planning your design allows you to envision the final product and organize your materials accordingly.
It helps in minimizing waste, as you can accurately estimate the quantity of ceramics needed.
Moreover, a well-thought-out plan reduces the likelihood of mid-project changes, which can be frustrating and time-consuming.
Choosing a Color Scheme and Pattern
Select a color palette that resonates with the ambiance you wish to create. You could opt for contrasting colors for a bold statement or complementary shades for a harmonious look.
Remember, the color of your grout will also impact the overall appearance, so choose accordingly.
Decide on a pattern that complements the space where the mosaic will be displayed.
It could range from geometric shapes, which are easier to plan and execute, to more organic forms that lend a natural, fluid aspect to your work. Consider using paper templates or drawing software to experiment with different designs.
2. Preparing the Ceramics
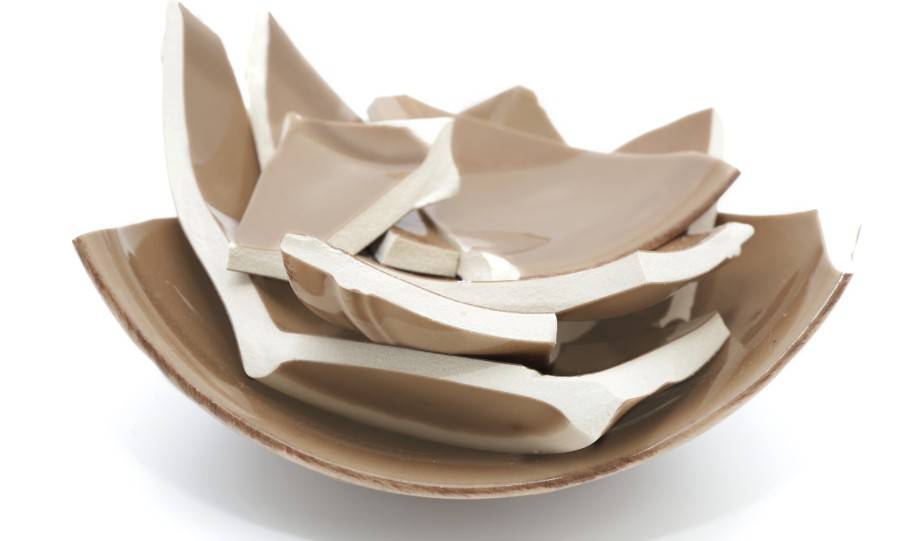
Once you have your design planned out, the next step is to prepare your broken ceramics.
This involves sorting and, if necessary, breaking them into smaller pieces that fit your design, as well as smoothing their edges for safer handling.
Sorting Your Ceramics
Begin by sorting your ceramics by color, size, and thickness.
This organization will streamline the assembly process, making it easier to select pieces that best fit your design.
Consider the curve of each piece and how it might fit within your pattern, especially for more organic designs.
Breaking Ceramics into Smaller Pieces
If you need smaller pieces than what you currently have, wrap the ceramic in a cloth to contain shards, then gently tap it with a hammer.
Check the size frequently to avoid breaking it too small. Always wear your safety gear during this process to protect yourself from sharp edges.
Smoothing Edges
Once you have your pieces, smoothing the edges is crucial for safe handling and a more polished look.
Use sandpaper or a file to gently round off any sharp points. This step not only makes your pieces safer to work with but also helps in achieving a cleaner, more professional finish on your mosaic art piece.
3. Assembling the Mosaic
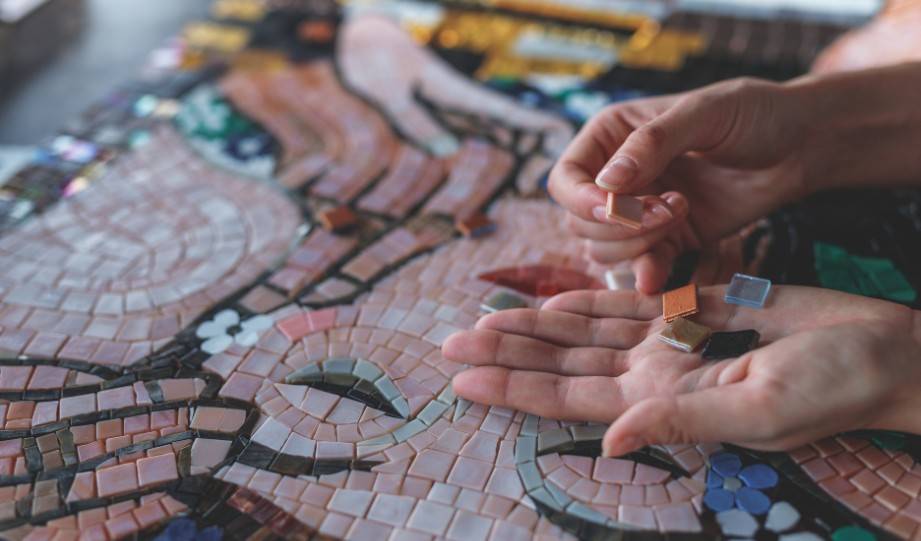
Assembling your mosaic is where your vision starts to come to life.
Begin by laying out your ceramic pieces on your chosen base according to the design you’ve planned.
This dry run allows you to make any necessary adjustments to the placement without the commitment of adhesive.
Adhering Ceramic Pieces
Once satisfied with the layout, it’s time to adhere the pieces to the base.
Apply a thin layer of adhesive to the back of each ceramic piece. Be mindful not to use too much, as it can ooze out from under the pieces and create a messy look. Place each piece onto the base, gently pressing down to ensure a good bond.
Allow the adhesive to dry according to the manufacturer’s instructions, usually around 24 hours, to ensure the pieces are securely attached.
Finishing the Artwork
After the adhesive has fully dried, apply grout over the entire mosaic, filling the spaces between the ceramic pieces.
Use a grout float to press the grout into the gaps and scrape away the excess.
Once the grout starts to set (check the product’s instructions for specific times, but typically about 20 minutes), wipe the surface with a damp sponge to clean off any remaining grout from the ceramic pieces.
Allow the grout to cure fully, often 24-48 hours, before applying a sealant to protect your mosaic from moisture and dirt.

Read More:
Caring for Your Mosaic Art
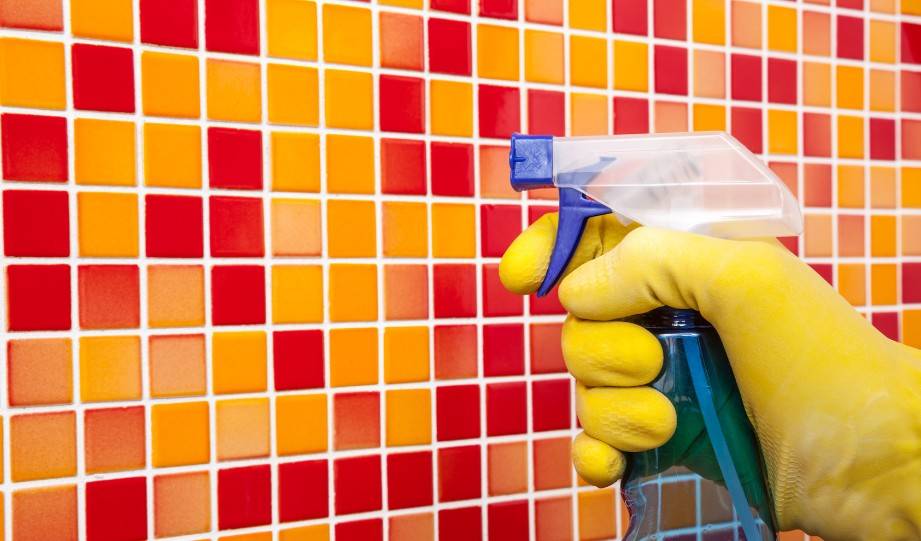
Caring for your mosaic art ensures its beauty and longevity, allowing it to remain a vibrant piece of eco-friendly art for years to come.
Proper maintenance and cleaning are key to preserving its appearance and integrity.
Regular Cleaning
Dust your mosaic art gently with a soft brush or cloth to prevent buildup of dirt and grime.
For more thorough cleaning, use a damp cloth with mild soap and water, carefully wiping the surface without saturating the grout lines, as excessive moisture can weaken them.
Avoid Harsh Chemicals
Steer clear of harsh cleaning agents, which can damage the ceramic pieces or discolor the grout.
Natural, gentle cleansers are preferable to maintain the artwork’s condition without compromising its materials.
Protective Measures
To protect your mosaic from environmental factors, consider applying a sealant to the grout lines every few years, especially for pieces displayed outdoors. This helps to waterproof the artwork and prevent damage from moisture.
Additionally, avoid placing mosaic art in direct sunlight for extended periods, which can fade the colors of the ceramic pieces.
Conclusion
In transforming broken ceramics into mosaic art, we not only give new life to what was once considered waste but also contribute to environmental sustainability.
This creative upcycling process showcases how art can intersect with eco-conscious living, turning discarded items into beautiful, functional pieces that enhance our spaces.
I encourage you to explore your creativity and embark on your own mosaic art project. By doing so, you’re not just crafting something beautiful; you’re also making a positive impact on the planet.
Let’s embrace sustainable crafts and create art that tells a story of renewal and hope. Start your upcycling journey today!

