Whether natural or man-made disasters, there are plenty of situations where people can end up in serious trouble due to a lack of water. And with floods, snow storms, hurricanes, and wildfires increasing in the last decade, water storage should be a high priority for every household.
But most people don’t realize what it takes for efficient water storage to see them through even just a few days of no running water.
I’ll mainly look at water containers other than bottled water in order to have a more efficient way to store water at home.
And with just a few tips, you could be set up in less than an hour to be prepared for all kinds of emergencies.
How Much Water To Store For Emergencies?
To answer that question, I want to break water storage down by regular daily usage and what you would need for an emergency situation.
Estimates can vary, but the average person uses about 100 gallons of water per day. Now, that is for drinking water alone, as most people would only need about half a gallon per day. Storing water in those kinds of amounts would require some form of industrial tank.
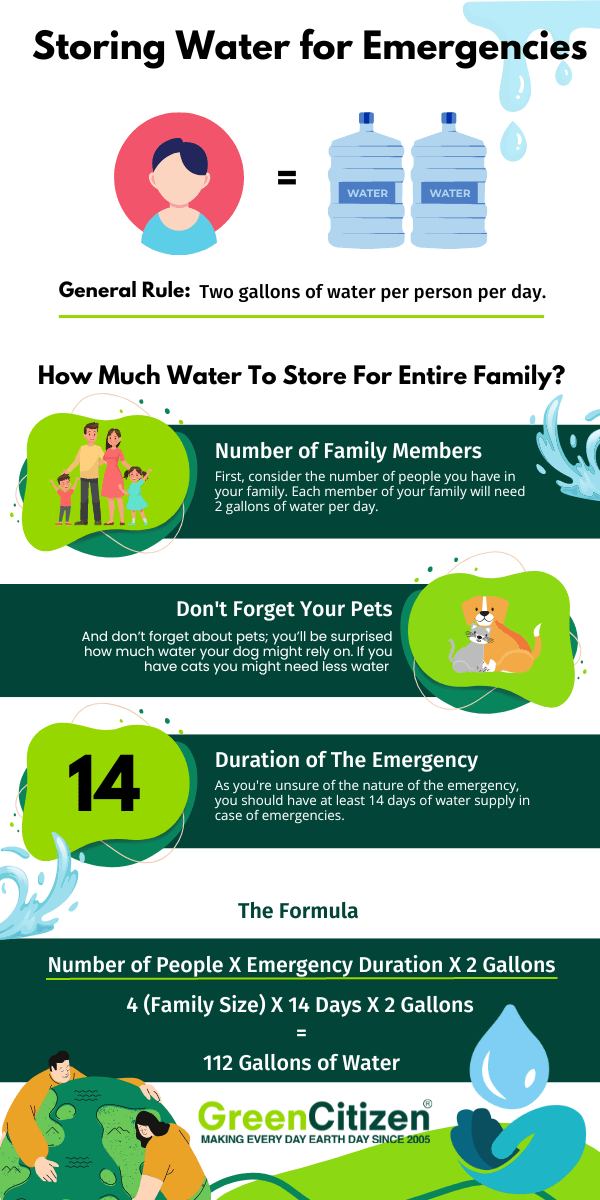
The FEMA recommendation is to store one gallon per person per day. One gallon of water might still seem like a lot to be drinking, but you’ll also need water for cooking, hygiene, and cleaning.
Personally, I have tried going for a couple of days only using stored water, and I struggled to get by with one gallon. That’s why it’s probably a safer bet to calculate two gallons per person per day.
The next thing you need to consider is that if you live in a particularly hot area, then your water storage needs will increase a lot. For example, someone living in Arizona or Florida could easily need three to four gallons a day just to get by.
And don’t forget about pets; you’ll be surprised how much water your dog might rely on.
And finally, once you know how many gallons you need per day, it’s a case of multiplying that by the number of days you want to be prepared for. In my opinion, you should have at least 14 days of water supply in case of emergencies.
So, let’s say you have three people and a dog at home. I would then suggest 4 times 2 gallons times 14 days, which is 112 gallons.
What Kind of Storage Container Should You Use?
When it comes to emergency drinking water supplies, resorting to bottled water that you buy in stores is not the most efficient or cost-effective way to plan your water storage. Yes, it’s a quick and easy way, and having some convenient bottles is a good idea.
So, let me introduce you to different materials and water storage options, along with the benefits and downsides.
Glass
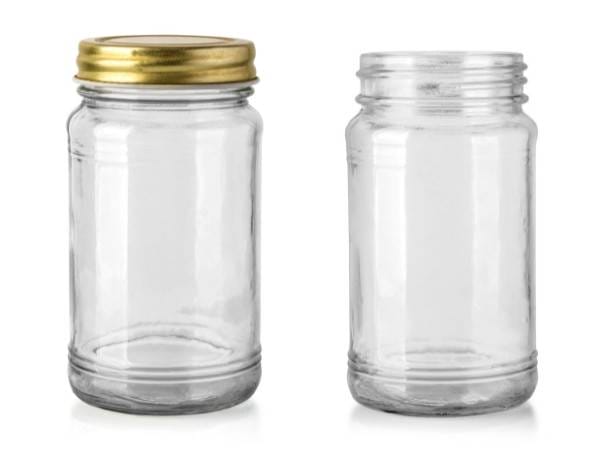
The great thing about glass is that it won’t break down or leach into the water, and if you don’t have to move it regularly, there shouldn’t be a risk of breaking.
But, there is a downside.
Glass containers are an expensive and heavy way to store water. And using large glass containers for large volumes of water storage isn’t efficient.
Still, there is a reason why I use them. See, I have a lot of empty glass canning jars that I rotate to store food. When they are going to be empty for a while, I simply fill them with water, as they will take up the same amount of space in storage, whether they are full of water or not.
Plastic Containers
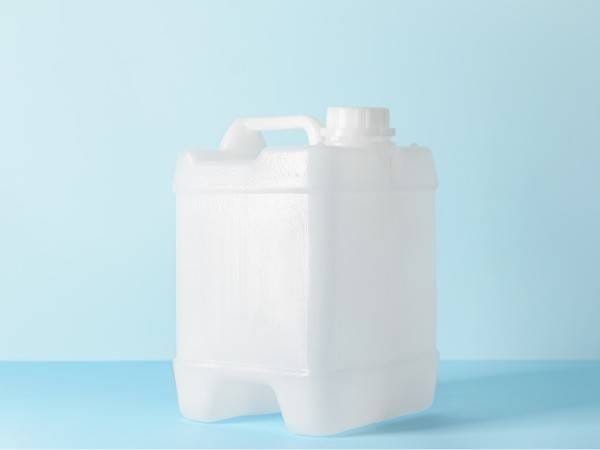
The great convenience of plastic storage containers is that they are light and relatively easy to move around. But you have to be careful that you only use food-grade plastic containers. Anything other than food-grade plastic could result in chemical contamination of the water.
And that’s not something you can easily filter out in an emergency situation.
Look for liquid storage containers made from polyethylene terephthalate (PET) to be on the safe side.
The other downside is that plastic is permeable, and gasses and liquids can leak inside. That’s why it’s important to store it away from anything corrosive like gasoline or pesticides.
Storage Drums
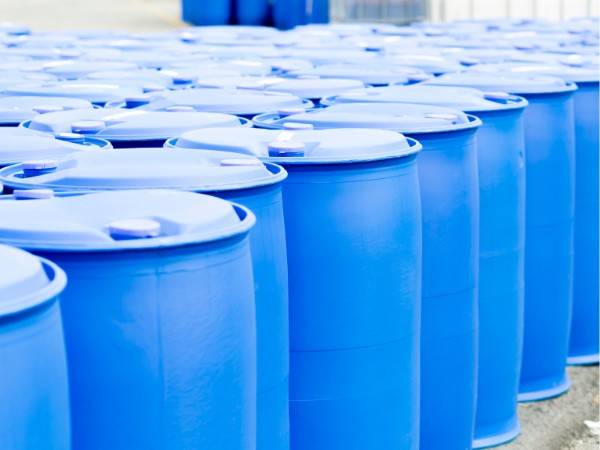
For the bulk of your emergency stored water, I would suggest using large 55-gallon storage drums. You can easily fill these with tap water and keep them in a cool and dark place. But remember to use a good quality tap water filter to get cleaner water.
They are also very easy to empty and refill to avoid stagnant water. What I do is empty them out in the summer to use for the garden and greenhouse and then top it up with fresh water.
The main downside is that these containers are not easy to move. So, if you have an emergency situation where you’re cut off from safe water and you need to move to another location, then it can become difficult.
Stainless Steel Cans
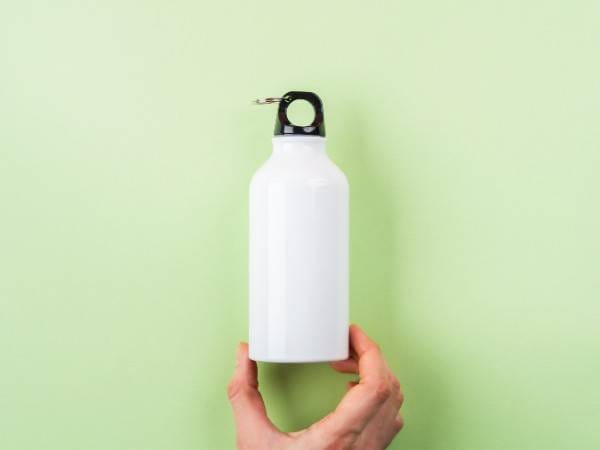
The great thing about stainless steel cans and water storage tanks is that they won’t corrode and can last over 50 years. You can get them in a wide range of sizes, and having a large one in your basement is a great way to create a safe storage solution.
One downside with this option is that the water can end up having a slightly metallic taste. But since you’re only going to use it in emergency situations, that shouldn’t be a major concern.
Water Bricks
What I love about water bricks is that they are the easiest way to have water storage in manageable sizes that you can easily stack. You can buy them up to about 4 gallons, and then you can simply stack them on top of each other.
In an emergency, you can then also put them in your trunk if you need to leave your home. Just make sure you buy heavy-duty ones that won’t damage easily when moved around.
PET Bottles
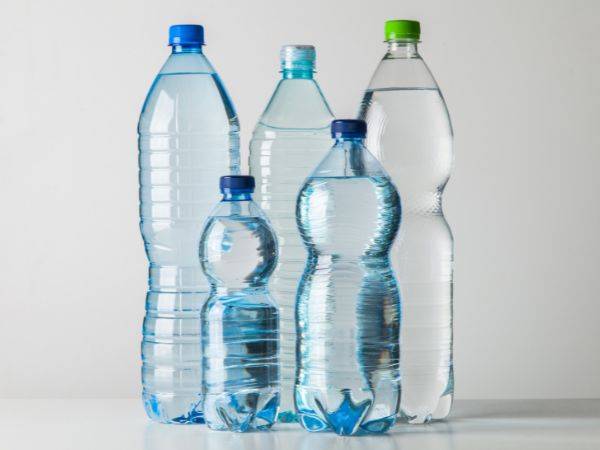
And finally, having a supply of water bottles is a great way to have small quantities that are easy to manage. Rather than throw used PET bottles in the recycling bin, rinse them out and then fill them with water.
You might see that there are best-before dates on water bottles you buy in-store. But there really is no good reason not to drink the water they contain after five or even ten years.
How To Sanitize Your Storage Container
The most important thing you need to do before filling water storage containers is to make sure that the containers are sterile. Your stored drinking water is only as safe as the container it’s in, and even if you spend top dollar for the best food-grade containers, you could end up with contaminated water.
It’s like any food preparation; if you use a dirty or contaminated knife from preparing meat to cut vegetables, then even a tiny amount of bacteria can cause food poisoning.
So, to make sure your stored water remains safe for years to come, you have to fully sanitize the containers. The simplest way to do this is with unscented liquid chlorine bleach. You can buy large bottles of these in big box retailers, and it’s good to have a few of these in storage.
You can also use sterilization powder that you mix with water, which is commonly used in the food preparation industry.
I generally dilute one part bleach to three parts water. I then spray or pour it into the containers to make sure that every part of the water storage container comes in contact with liquid chlorine bleach.
For smaller containers, I suggest shaking them up to spread out the bleach. You can achieve a similar effect with large 55-gallon containers by standing them upside down and on their sides.
Leave the liquid chlorine bleach to do its magic for 20 to 30 minutes, and then empty it out. Also, make sure you soak the caps and seals and put them back on immediately if there’s going to be a delay in filling them with water.
Also, keep some extra bottles of liquid chlorine bleach in storage, as you may want to clean containers when you replace the water every so often.
Where Should You Store Water For Long-Term Prepping?
Where you store your drinking water will largely depend on the layout of your home and the size of your containers. This should also be something you consider before you buy the containers, as finding a place for water stored in a 55-gallon drum might be difficult if you live in a tiny apartment.
Generally, you want to find a cool and dark place to conserve water. That is ideally a basement away from any possible contaminants and heat sources. That means keeping it away from any gasoline containers and your washer-dryer.
You can also keep some smaller food-grade plastic containers mentioned above in a closet or pantry.
If you’re very limited in space, then you should consider using small to midsize PET bottles and place them in locations that you don’t use for anything else. This could be under the bed, in closets, or in kitchen cupboards.
How To Purify Contaminated Water?
People who like going on long hikes and overnight wildlife adventures will be used to different processes of getting safe drinking water. Boiling water is one of the oldest and most well-known ways, but you have some other options as well.
All of them have advantages and disadvantages, but they all work well in emergency situations.
You won’t need to do this if your stored water will be sourced from safe water from the faucets that you normally drink.
But if you’re in a situation where you need to refill water storage from a river, lake, or rainwater, then these methods are important.
Boiling
Boiling water is the easiest way to deal with microbes that could make you sick. It’s what you would do on an outdoor adventure, and the benefit is that you don’t end up changing the taste of the water.
What you need to do is bring the water to a boil where you see a lot of bubbles and then keep it that way for about two to three minutes. Then let the boiling water naturally cool down and transfer it to a sanitized container.
While this is a great way to get rid of bacteria and viruses, it won’t help to deal with chemical impurities.
Liquid Bleach
You can also use regular household liquid bleach to make water safe to drink. Now, it might not sound like bleach is a safe thing to be used for sterilizing and storing water, but you’re only going to be adding tiny amounts.
Most bleach comes in concentrations of 5% – 10%, and you’ll only need to add eight drops of bleach to one gallon of water. Just make sure you use a dropper to be accurate with this process.
The downside is that you’ll end up with a slight chlorine odor and taste in the water, but it’s still going to be a lot safer to drink.
Filters
Filters are another great way to purify water and even remove some of the mineral impurities. You can buy portable filters that you operate by hand, and these are generally best for emergency situations as you might not have access to electricity.
When it comes to filters, you get what you pay for, but some viruses are so small that they might evade the filters. So you might still need to boil or sanitize the water with bleach.
The other downside is that filters only last for a certain amount of water, and it might become difficult to get new ones in an emergency situation.
Ultraviolet Light
I know people who like to go hiking and bring a small UV light device. It can be an effective way to deal with germs if you’re in a situation where you can’t boil and store water. There are also larger devices that you can use for all the water coming into your home.
What I love about them is that it doesn’t change the taste of the water, which is completely natural.
One thing you need to keep in mind is that you’ll need a backup supply of batteries to keep these devices running. And it might not be as efficient as adding a few drops of liquid chlorine bleach to deal with all the germs.
Sustainable Water Sources During Emergencies
Now, if you’re in a situation where your bottled water is running low, and you need to restock your emergency water supply, but the faucets are still running dry, then you have to become a bit more creative with your sources of drinking water.
Here are a couple of options you have.
Rainwater Harvesting
What you should be doing for sustainability reasons is have rainwater collection tanks attached to your home to store run-off water from your roof. Now, in most cases, these tanks are not made of food-grade plastic.
And even if they were, because the tanks are probably outdoors, you’ll still need to take extra steps.
But we really are looking at an emergency situation where you need to top up your drinking water storage. I have two 55-gallon tanks collecting water for my summer gardening needs, but I could just as easily treat that with fresh bleach to make it potable.
Ponds, Lakes, And Rivers
If you have large ponds, lakes, or rivers near your home and you can safely get to them, then that’s a great place to top up bottles and other storage containers. The simplest thing to do then is to boil it in batches and then store the boiled water.
Now, there are some places where you can drink water directly from rivers, for example, if they are fed by glacial melt water. But in an emergency situation, the last thing you want to do is add another problem like serious stomach issues to your list.
Gray Water Collection
Some homeowners are set up to collect water from showers and sinks to divert it to toilet cisterns, this is called gray water. You can also divert this water for filtering and boiling. You can then reuse the boiled water for personal hygiene and cleaning.
That puts less pressure on your drinking water to be used for other purposes than keeping you alive.
One other thing you can look at as a water source is any hot water heater you might have. If you turn on your hot water faucet, then it will drain that tank, and it should be safe to drink.
Groundwater
If you have a well on your property, then that can be an excellent place to get water that could even be ready to drink. A lot depends on the surrounding environment and how many different layers the water filters through.
If you have a well, then now is the time to have the water tested to determine how suitable it is for drinking.
You might need to treat it with one of the options above, and you’d want to know that before you’re in an emergency situation.
With water stored in this way, you should be in a great position to regularly top it up.
Conclusion
Having enough drinking water for all types of situations can mean the difference between life and death. And it doesn’t take much to be in a situation where you don’t have enough water to survive three days.
I highly recommend investing in food-grade plastic containers to start with and then slowly upgrading to bigger long-term storage tanks.
Start small and get used to the process. And then it’s just a case of gradually building up your backup supplies.
The good thing about water stored in this way is that you can then regularly cycle the content every 12 months. But even if you don’t, it will be perfectly fine to bridge you over emergencies if you need to.

